

Yes, a confident DIYer can service a Gen 4 Haldex. The job must replace the external filter, service the pump screen, refill with fresh G055/G060 175 A2 oil, and finish with a pump learn on a diagnostic tool. Skip that last step and the controller may never see clean, correctly pressurised oil as a reason to change its behaviour. If you own a torque wrench and VCDS, this is a Saturday-morning job, not a workshop mystery.
TL;DR:
- Proper pump screen cleaning and careful installation of new O-rings help prevent pressure failure; a blocked screen is a common fault.
- The pump must be cycled briefly with VCDS after refilling to ensure proper oil circulation and pressure buildup before completing the service.
- Setting the oil level between 20 to 40°C avoids overfilling or starving the pump, with live temperature reading providing the most reliable check.
- Replacing the entire pump is necessary only if electrical faults or physical damage occur, but cleaning and reusing the existing pump is often sufficient.
Table of Contents
- What tools and parts do you need for a Gen 4 Haldex service?
- How do you service a Gen 4 Haldex step by step?
- Why does oil temperature matter for a Haldex fill?
- How do you check a Gen 4 Haldex pump is working properly?
- What should go in a Gen 4 Haldex service kit?
- Is a DIY Gen 4 Haldex service worth attempting?
- Where to find the right parts for your Gen 4 Haldex
- Where can you find more on Gen 4 Haldex service procedures?
- Sources
What tools and parts do you need for a Gen 4 Haldex service?
Get the parts list wrong and you will be halfway through the job with the bonnet up and no way to finish. Gen 4 Haldex units run on either G055 175 A2 or G060 175 A2 specification oil, depending on the exact pump revision and vehicle application, with a typical fill volume sitting close to one litre once the housing, filter, and pump internals are all accounted for. Always check your specific unit before buying oil, since the two specs are not interchangeable.
You will also need the external filter cartridge itself, which is Gen 4’s defining feature over Gen 5, which dropped the separate filter in favour of a pump-only screen. Confirm which generation you actually have by checking your VIN or the physical unit, because fitting the wrong parts wastes a morning and money.
The full checklist looks like this:
- New filter cartridge and cap seal, plus fresh O-rings for both the filter housing and the pump
- A new crush washer for the fill plug (never reuse the old one)
- 1 to 1.2 litres of the correct spec oil, with a bit of spare for topping up
- A 60ml to 100ml syringe or small hand pump for controlled, low-mess filling
- Torque wrench capable of low-to-mid Newton metre readings, plus the correct sockets for your housing bolts
- Diagnostic tool with VCDS or an equivalent VAG-COM capable interface for Address 22 access
- Drip tray, nitrile gloves, and a torch for checking the clutch cavity for debris
How do you service a Gen 4 Haldex step by step?
This is the part where sequence matters. Do the steps out of order and you either spill oil everywhere or damage the pump’s delicate internals.
-
Prepare the vehicle. Get the car level, ideally on axle stands or a lift, and let the engine idle for a few minutes so the Haldex oil is slightly warm rather than cold and thick. Lay down a drip tray under the unit and put on gloves and eye protection before touching anything.
-
Loosen the filter housing bolts. Crack the bolts on the external filter housing but do not remove it fully yet. Some technicians run the pump briefly through VCDS at this stage to eject the old filter with minimal spillage, since the pressure pushes the cartridge partway out of its housing on its own.
-
Remove the filter and catch the oil. Pull the housing clear, let the old filter and residual oil drain into your tray, and set the old cartridge aside for disposal.
-
Detach the pump carefully. The pump comes off next, and this is where people rush and regret it. There are two O-rings on the pump body that must come off cleanly and go back on undamaged, and the pump internals are not something you want to drop or force. Support the pump as you unbolt it rather than letting it hang on its wiring.
-
Clean the pump mesh screen. With the pump out, inspect and clean the fine mesh screen. Blocked screens are one of the most common failure modes in Gen 4 units, and a clean screen alone sometimes restores pressure that a simple fluid change never would. Use brake cleaner and a soft brush, never anything abrasive that could tear the mesh.
-
Drain the housing and inspect the clutch cavity. Tip out any remaining oil, wipe the housing clean, and shine a torch into the clutch cavity to check for metallic debris. Fine metal particles suggest wear inside the clutch pack; anything more than a light dusting is worth flagging before you button everything back up.
-
Fit the new filter and seals. Lightly lubricate the new O-rings with a smear of the fresh oil before fitting, since dry seals are far more likely to pinch or tear on installation. Torque the housing bolts to the manufacturer’s specification, and if you are unsure of the exact figures for your unit, the correct torque values by generation are worth checking rather than guessing.
-
Reinstall the pump. Reseat the pump with its two O-rings correctly located, and make sure any electrical connector clicks home fully. This is a common sticking point on Gen 4 units, and connector plug issues during removal or refitting are common enough that dedicated connector plug replacement tips exist specifically for this stage of the job.
-
Initial fill. Use your syringe to introduce oil slowly through the fill point, giving air pockets time to escape rather than forcing oil in fast.
-
Run the pump briefly. With some oil in the system, cycle the pump for a short burst through VCDS. This circulates oil through the pump body and filter, settling the level and revealing any obvious leaks around the seals you just fitted.
-
Top up to the correct level. Add oil until it just begins to drip from the fill point, which is your practical sign the housing is full without being overfilled.
-
Refit the fill plug with a new crush washer. Never reuse the old washer here. A worn crush washer is a slow, maddening leak waiting to happen, and it costs pennies to replace properly.
-
Leak-check before driving. Wipe the housing down, road test the car gently at low speed on a quiet street, then park up and check underneath for any fresh oil on the drip tray or ground.
Pro Tip: Do the pump run-cycle steps with the wheels off the ground on axle stands, not just level on the floor. It lets you watch and listen to the pump engaging without risking a lurch forward if the AWD system unexpectedly bites.
Why does oil temperature matter for a Haldex fill?
Setting the level cold is the single easiest way to get this job subtly wrong. Haldex oil expands as it warms, so a level that looks perfect at 10°C will be overfilled once the unit reaches normal running temperature, and an underbilled cold check can starve the pump under load. The accepted window for setting the final level is roughly 20 to 40°C, which gives you a realistic margin without needing the unit fully hot.
If you have VCDS connected, checking the live oil temperature reading under the relevant measuring block is the most reliable way to confirm you are in range before topping up. Without a diagnostic tool, a short five to ten minute drive followed immediately by the fill is a workable substitute, since it gets the housing warm without letting it cool back down before you check the level.
A few practical points make the fill itself cleaner:
- Insert the syringe tip below the oil surface once there is some fluid in the housing, to avoid drawing air into the system
- Add oil in small increments near the top of the fill, rather than one continuous pour, so you can catch the drip point accurately
- Wipe the fill point dry between checks so you are judging a genuine drip, not residue from the last top-up
How do you check a Gen 4 Haldex pump is working properly?
A working Haldex pump has a distinct signature you can actually measure, not just guess at. The pump builds working pressure to roughly 30 bar when healthy, and watching current draw and pressure build under VCDS gives you a genuine before-and-after comparison against a unit that is struggling.
Run through these checks after reassembly:
- Connect VCDS and select Address 22, Haldex, then open the relevant measuring blocks for pump pressure and current draw.
- Trigger the pump motor test under basic settings and watch pressure climb steadily rather than stalling or spiking erratically.
- Run the pump-learn adaptation routine itself, which typically takes a few minutes to complete and should finish without an abort code.
- Clear any stored faults once the learn procedure completes successfully.
If the pump under-performs or throws codes, work through this list before assuming the pump itself is faulty:
- Check the pump prime, since trapped air after a fill is a common false alarm
- Inspect the wiring and connector for corrosion or a poor seat, particularly after handling during service
- Look for oil weeping at the O-rings, which drops pressure slowly rather than suddenly
- Recheck the pump screen for residual blockage if pressure is consistently low rather than absent
Some workshops confirm rear-axle engagement on a rolling road or two-wheel-drive hoist test rather than a road test, which lets a technician feel the rear wheels take up drive without risking a live road situation if something is not quite right.
What should go in a Gen 4 Haldex service kit?
A proper kit is not just a bottle of oil. It should contain the filter element and cap seal, fresh O-rings for both filter and pump, a new crush washer, the correct spec oil in sufficient quantity for a full fill, and ideally a syringe for controlled filling.
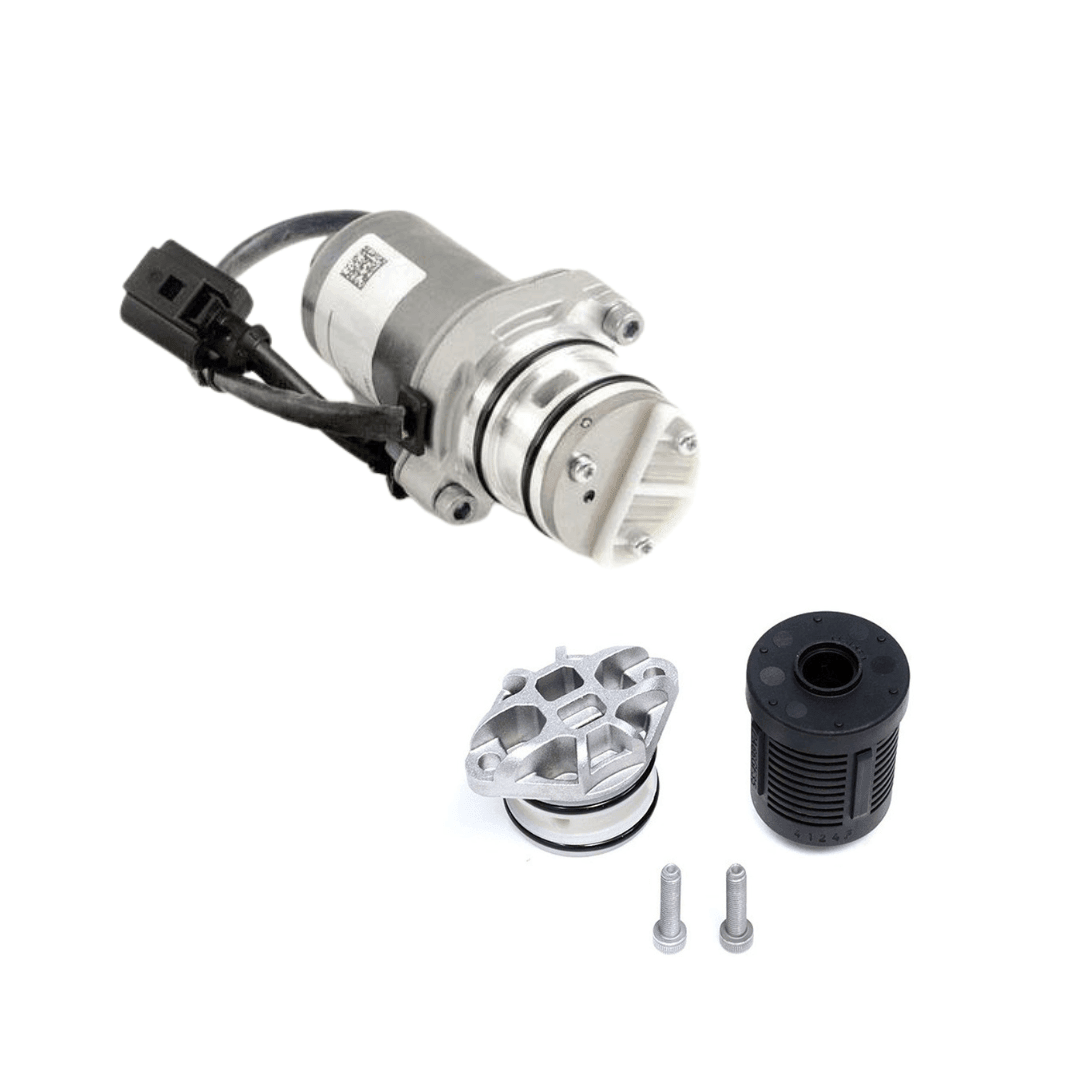
Cleaning the existing pump screen is the right call in most cases, since a blocked screen is often the actual fault rather than a worn pump motor, and cleaning is more cost-effective than replacement unless you have electrical faults on the motor itself. Replace the pump outright when it shows electrical faults, physical damage, or persistently low pressure even after a clean screen and fresh oil.
Haldexparts stocks the parts this job actually needs:
- The BorgWarner AWD pre-charge pump (0AY598549A) for Audi, VW, Škoda, and Seat Gen 4 applications where the pump itself needs replacing
- The connector plug replacement set for anyone worried about damaging the pump connector during removal
- The complete pump and filter kit covering both parts in one order for a full pump-and-filter refresh
Is a DIY Gen 4 Haldex service worth attempting?
Most competent DIYers can manage this in an afternoon once they have done it once. The mistakes I see most often are rushing the pump O-rings, skipping the pump-learn entirely, and setting the fluid level cold. None of those are difficult to avoid, but all three quietly ruin an otherwise correct service. If you have never used VCDS before, budget extra time for the learning curve rather than the mechanical work itself, and hand it to a workshop if your pump shows electrical faults rather than just a dirty screen.
— Mindaugas
Where to find the right parts for your Gen 4 Haldex
Haldexparts exists for exactly the job described above: getting the correct OEM-grade filter, oil, and pump for your specific Gen 4 unit without guessing at part numbers or paying workshop labour rates to have someone else do it. Every product page lists the vehicle applications it fits, so you can match a kit to your Audi, VW, Škoda, or Seat rather than hoping a generic listing is close enough.
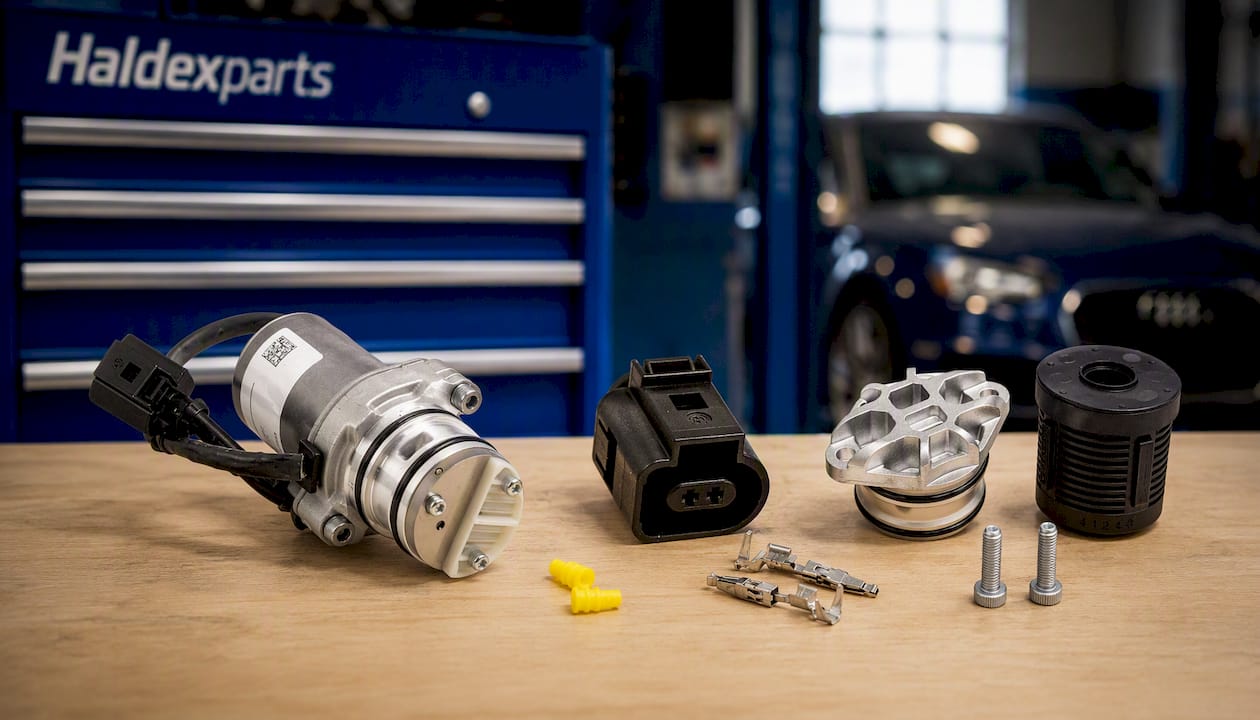
If your pump needs replacing rather than cleaning, the BorgWarner pre-charge pump is the direct OEM-spec replacement, or take the combined pump and filter kit if you are doing both in one go. Orders over £150 ship free, and the team can talk you through fitting or pump-learn questions before you commit to a kit. If you are protecting your interior while the car is up on stands, a set of custom-fit floor liners is a sensible extra for anyone doing regular DIY maintenance. Look up your kit by vehicle model on the Haldexparts catalogue and get the right parts ordered before you book your Saturday morning in the garage.
Where can you find more on Gen 4 Haldex service procedures?
- Full Gen 4 Haldex service walkthrough covering filter, oil, and pump-learn steps
- Pump pressure and current diagnostics for Generation IV units
- Recommended service interval guidance from UK Haldex specialists
- Correct Haldex torque specifications by generation
Sources
- How to Service Haldex Generation 4 Full Guide
- VW Haldex 4Motion Generation IV - Automotive Tech Info
- Haldex oil change service guide - Mechalex
- Unravelling the Gen 4 Haldex Control Unit | Willand Service Centre



