

Overfilling a Haldex system usually raises internal oil pressure, and that pressure shows up first as a rear-end hum, a judder on tight turns, or oil seeping from a weep hole. None of that means you need to pull over immediately, but it does mean you should check the fluid level and vents within the next day or two. If you’re already seeing stored fault codes or heavy leaking, treat it as urgent and get the car looked at now.
TL;DR:
- Overfilling the Haldex system raises internal pressure, causing symptoms like rear-end humming, judder on turns, and oil seepage from weep holes.
- Symptoms often appear before a scan confirms the issue, with common signs including abnormal noises, clutch hesitation, or fluid pooling under the differential.
- Confirm overfill by measuring fluid after parking on level ground and inspecting vents and weep holes for signs of excess pressure or active seepage before replacing parts.
- Ignoring early symptoms can lead to seal failure, accelerated pump wear, and more complex repairs involving the differential or clutch pack within a few thousand miles.
- Proper diagnosis and use of OEM parts for pumps, seals, and filters ensure the fix addresses underlying issues rather than just symptoms.
Table of Contents
- Haldex overfill symptoms you can actually see, hear and feel
- Why too much fluid causes these problems in the first place
- Step-by-step diagnosis: confirming overfill before you touch anything
- What happens if you leave an overfill uncorrected
- Fixing an overfill and stopping it happening again
- Parts that map to these repairs
- Why most overfill advice online misses the point
- Get the right parts once you’ve confirmed the cause
- Sources
- FAQ
Haldex overfill symptoms you can actually see, hear and feel
Most drivers notice something is wrong long before a scan tool confirms it. The trick is matching what you’re experiencing to the right fault, because Haldex overfill symptoms overlap with several other AWD problems.
- Humming or whining from the rear — usually audible at idle or under light throttle, and often mistaken for a wheel bearing or diff issue.
- Judder or hesitation on tight turns — the coupling struggles to engage or disengage smoothly when pressure inside the unit is wrong.
- Wheel scuffing or brief slip in car parks — a classic sign the clutch pack isn’t behaving predictably.
- Fluid seepage from weep holes or the drain plug area — oil pooling under the car, or a damp residue where there wasn’t one before.
- Stored AWD or Haldex fault codes, along with abnormal pump current or pressure readings on a scan tool.
Not every symptom appears in isolation. A car with a hum and a fresh oil patch under the rear differential is telling a fairly consistent story, whereas judder with no leak at all points more towards a fluid quality or adaptation issue than pure overfill. Forum reports back this pattern up consistently: multiple owners describe humming appearing shortly after a fluid change, with seepage from a bottom vent following days or weeks later. If you’re chasing an unexplained noise, our Haldex coupling noise troubleshooting guide walks through the acoustic side in more detail.
Why too much fluid causes these problems in the first place
A Haldex pump is designed to work within a narrow pressure window. Add too much fluid and you remove the air gap the system needs to compress and equalise, so pressure spikes happen sooner and harder during normal operation.
- Excess volume raises internal pressure, which pushes oil past seals that were never designed to hold back that much force.
- Blocked or restricted vents stop pressure from equalising, so instead of venting harmlessly, the oil finds the weakest point, usually a seal or weep hole.
- The wrong fluid viscosity, such as generic gear oil instead of genuine Haldex fluid, changes how the pump loads and how quickly pressure builds.
- Pump pistons and the clutch pack all respond to pressure that’s outside spec, which accelerates wear even before you notice symptoms.
Technicians who’ve worked leak complaints report the same underlying mechanism: owners tracing leaks to weep holes frequently find either a genuine seal failure or a system that’s simply been overpressurised by too much fluid or a blocked vent. Wrong-viscosity fluid causes its own version of the same problem, and there are documented cases of 75W-140 substituted for Haldex fluid leading directly to weep-hole seepage even when the volume itself was close to correct.
Pro Tip: Never plug a weeping vent or weep hole to “stop the leak”. It’s a pressure-relief point by design, and blocking it just forces the oil somewhere worse, usually a seal that’s far more expensive to replace.
Step-by-step diagnosis: confirming overfill before you touch anything
Work through this in order rather than jumping straight to parts replacement.
- Park on level ground and let the car sit long enough that fluid settles, whether that’s cold from overnight or after a short drive to bring it to operating temperature.
- Remove the drain plug and observe what comes out. A steady, measured amount roughly matching the manufacturer’s spec suggests a correct fill; a rush of fluid or a level sitting above the plug threading points to overfill.
- Inspect weep holes and vents for active seepage, dried residue, or trapped air bubbles that suggest the system has been fighting pressure it shouldn’t have to.
- Pull stored codes and check pump adaptation values. Abnormal current draw or pressure readings during a scan-tool test often confirm what the physical inspection suggests. Later Haldex generations rely on pump-current and adaptation values as the primary diagnostic route, since some don’t have an external filter you can simply pull and inspect.
- Decide whether the fault is fluid-related or mechanical. If correcting the level stops the seepage within a short test drive, you’ve found your answer. If oil keeps appearing after a correct refill, the problem has likely moved on to a seal or the differential itself.
- Don’t skip the strainer check if the pump is coming out anyway. A clogged strainer mimics some overfill symptoms and gets missed constantly.
- Keep a note of exact drain volumes. Small measured corrections of a few tens of millilitres often resolve minor seepage without any further work.
What happens if you leave an overfill uncorrected
Ignoring early symptoms rarely ends with the problem staying small. Pressure that’s been building against a seal doesn’t relax on its own, and continued driving under load only accelerates the wear pattern.
- Seal failure progresses from a slow weep to a continuous leak, often within a few thousand miles once it starts.
- The pump itself wears faster under sustained excess load, and contaminated or degraded fluid makes that worse.
- The clutch pack can slip or pick up contamination, cutting into the AWD system’s actual traction performance rather than just producing noise.
- Fluid can cross-contaminate the rear differential, turning what was a straightforward Haldex service into a bigger job involving diff oil and seals too.
- Typical repair work at this stage means seal replacement, a pump rebuild, or clutch pack attention, all considerably more involved than the drain-and-refill that would have fixed things early. Our guide on what causes Haldex failure covers how these failure modes typically progress from first symptom to full breakdown.
The pattern holds across most reports: catch it at the humming-and-slight-seepage stage and you’re looking at an afternoon’s work. Catch it after the pump’s been labouring for months and you’re looking at a rebuild.
Fixing an overfill and stopping it happening again
The fix itself is rarely complicated. Getting it right the first time, so you’re not back under the car in three months, is where most DIY attempts go wrong.
- Drain to a measured, correct level and check whether seepage stops on its own over a short test drive.
- Replace the filter or clean the pump strainer, depending on generation. Service guidance consistently recommends this step alongside a fluid change, since a blocked strainer causes similar symptoms to overfill and often gets overlooked during a straightforward top-up.
- Flush and refill with manufacturer-specified Haldex fluid, never a generic gear oil, and confirm the exact volume for your generation before you start. Our refill capacity guide lists generation-specific figures so you’re not guessing.
- Run a pump learn or adaptation procedure after the refill, particularly on later generations where the pump recalibrates its baseline pressure readings.
- Replace the pump, seals, or clutch pack if seepage continues after a correct refill, or if adaptation values remain outside normal range, since that points to mechanical wear rather than a fluid issue.
Pro Tip: If you’re not certain which generation pump you’re working on, check before ordering parts. First and second generation pumps use a different nose design to later versions, and mixing up the wrong replacement part is a common, entirely avoidable delay.
Prevention comes down to discipline more than skill: measure what you’re putting in, use the correct fluid, and service on the manufacturer’s interval rather than waiting for symptoms. If contamination rather than overfill turns out to be the culprit, our piece on reading Haldex oil symptoms helps tell the two apart, and the oil leak fixes guide covers quick generation-aware checks if you’re dealing with an active leak right now.
Parts that map to these repairs
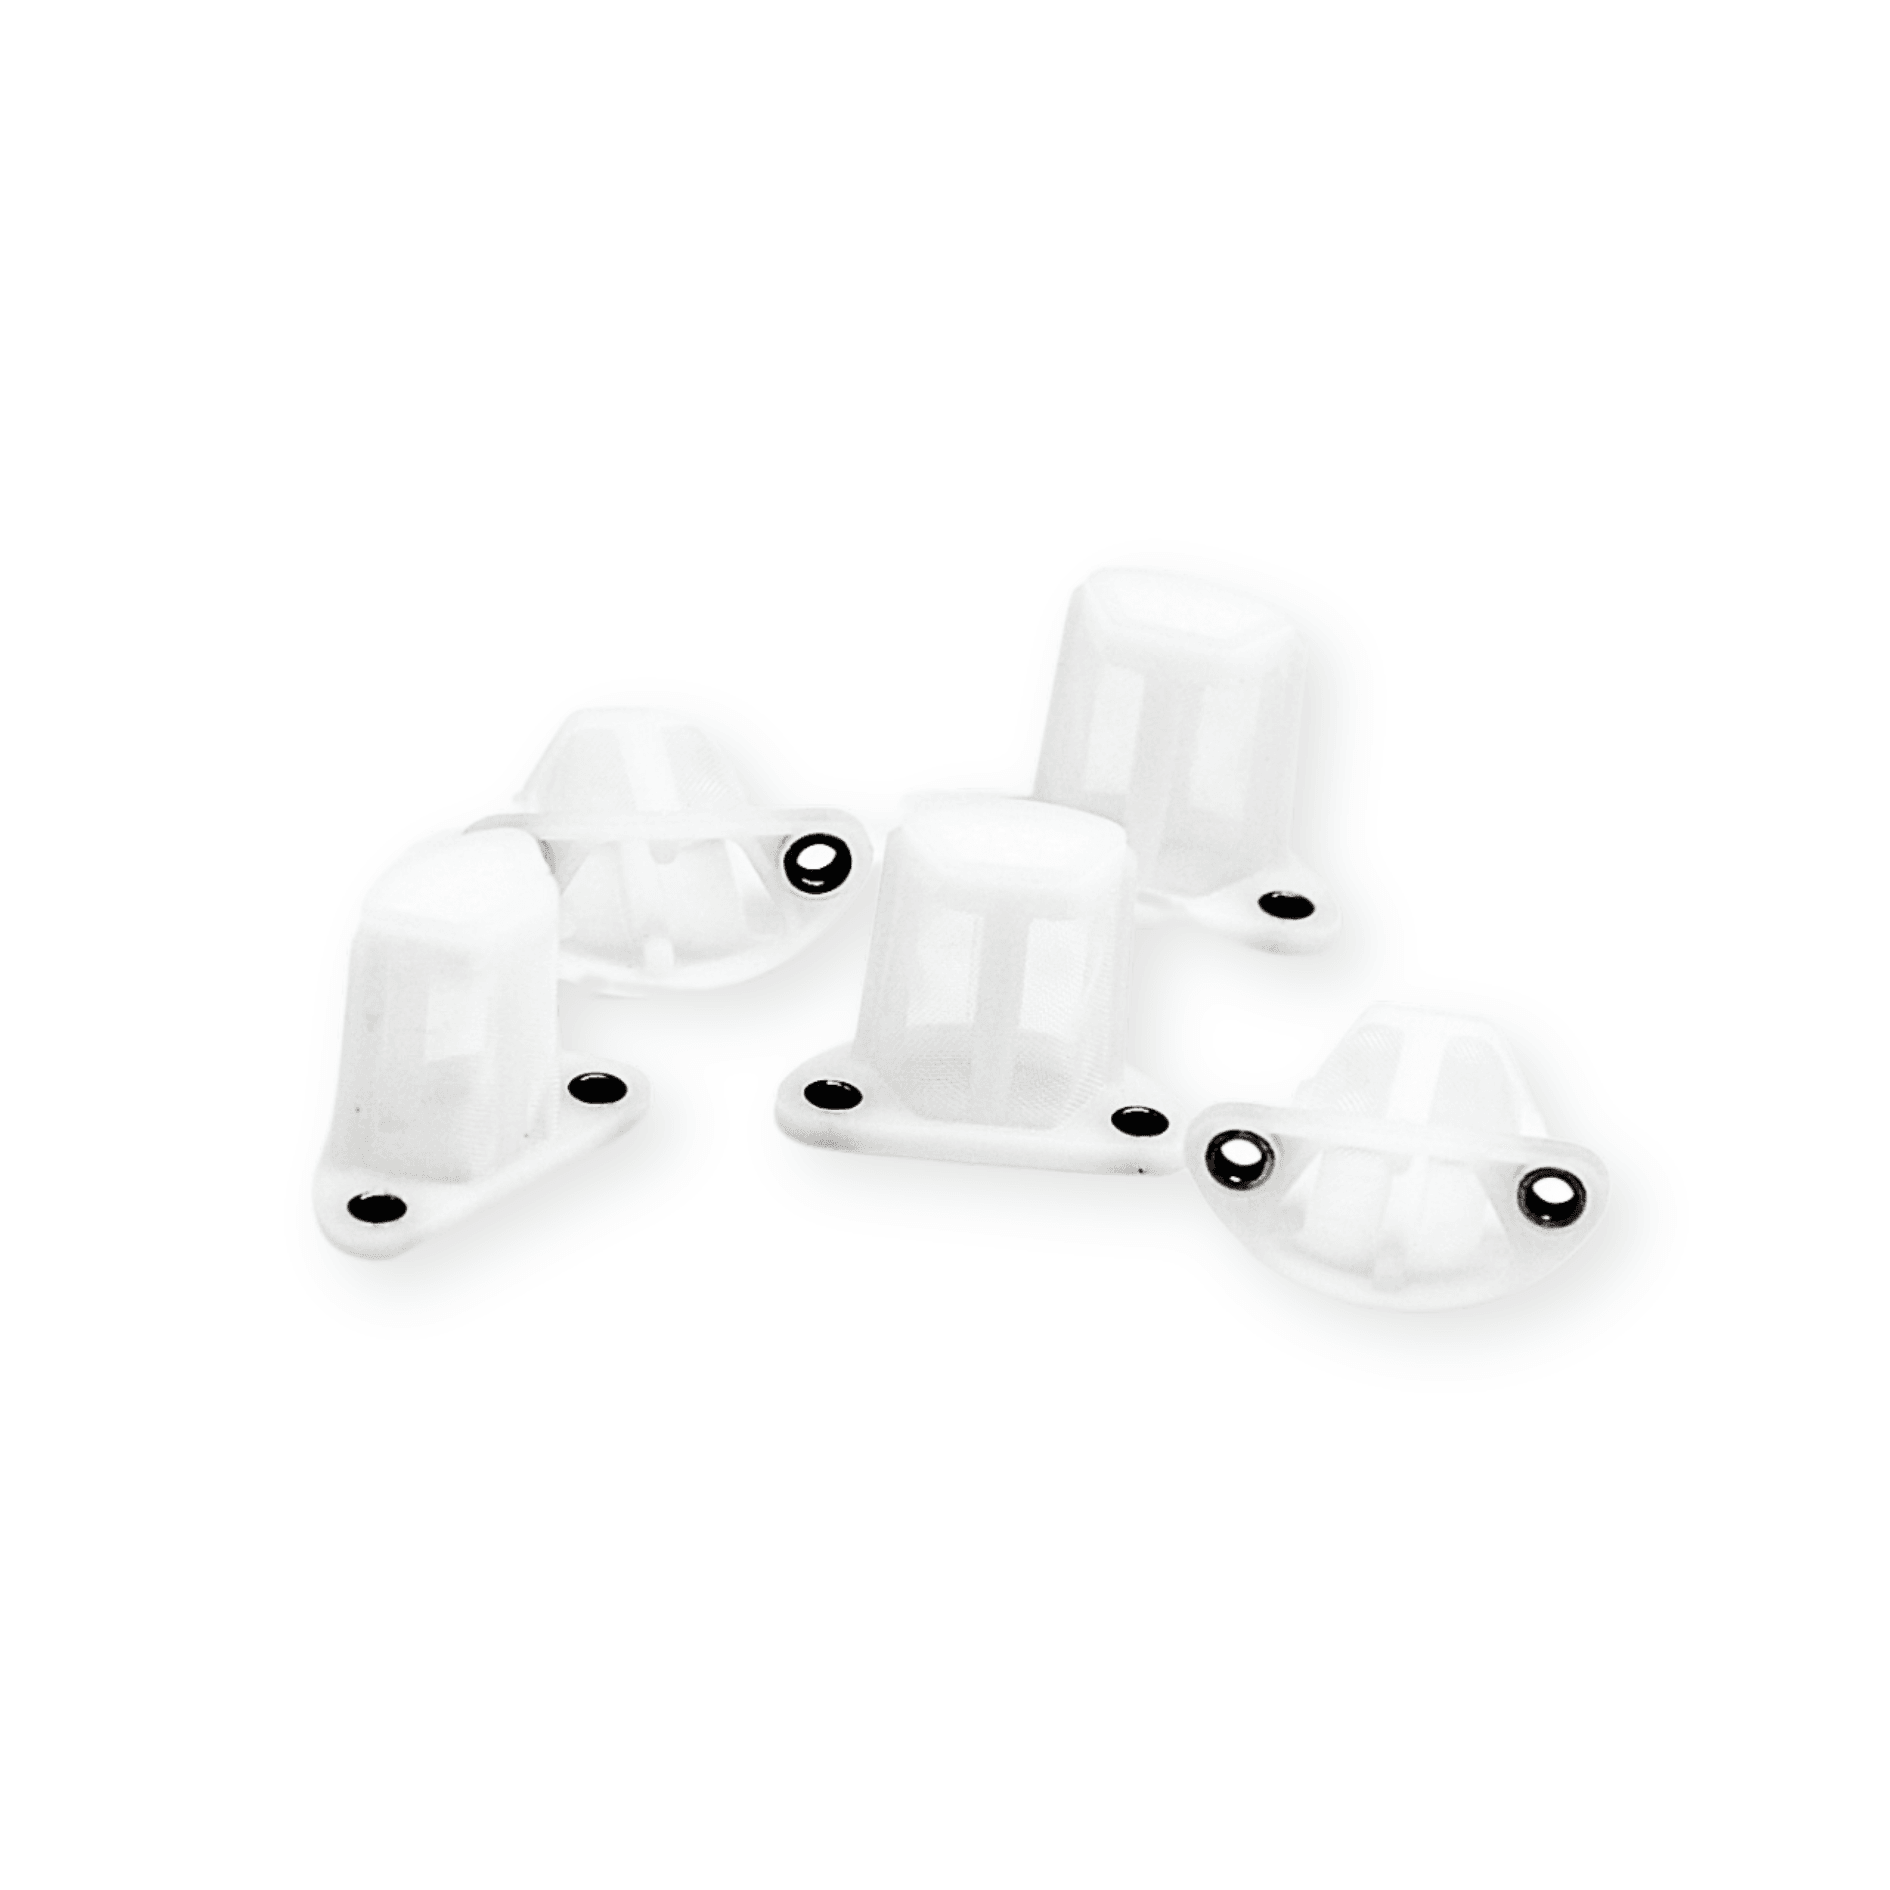
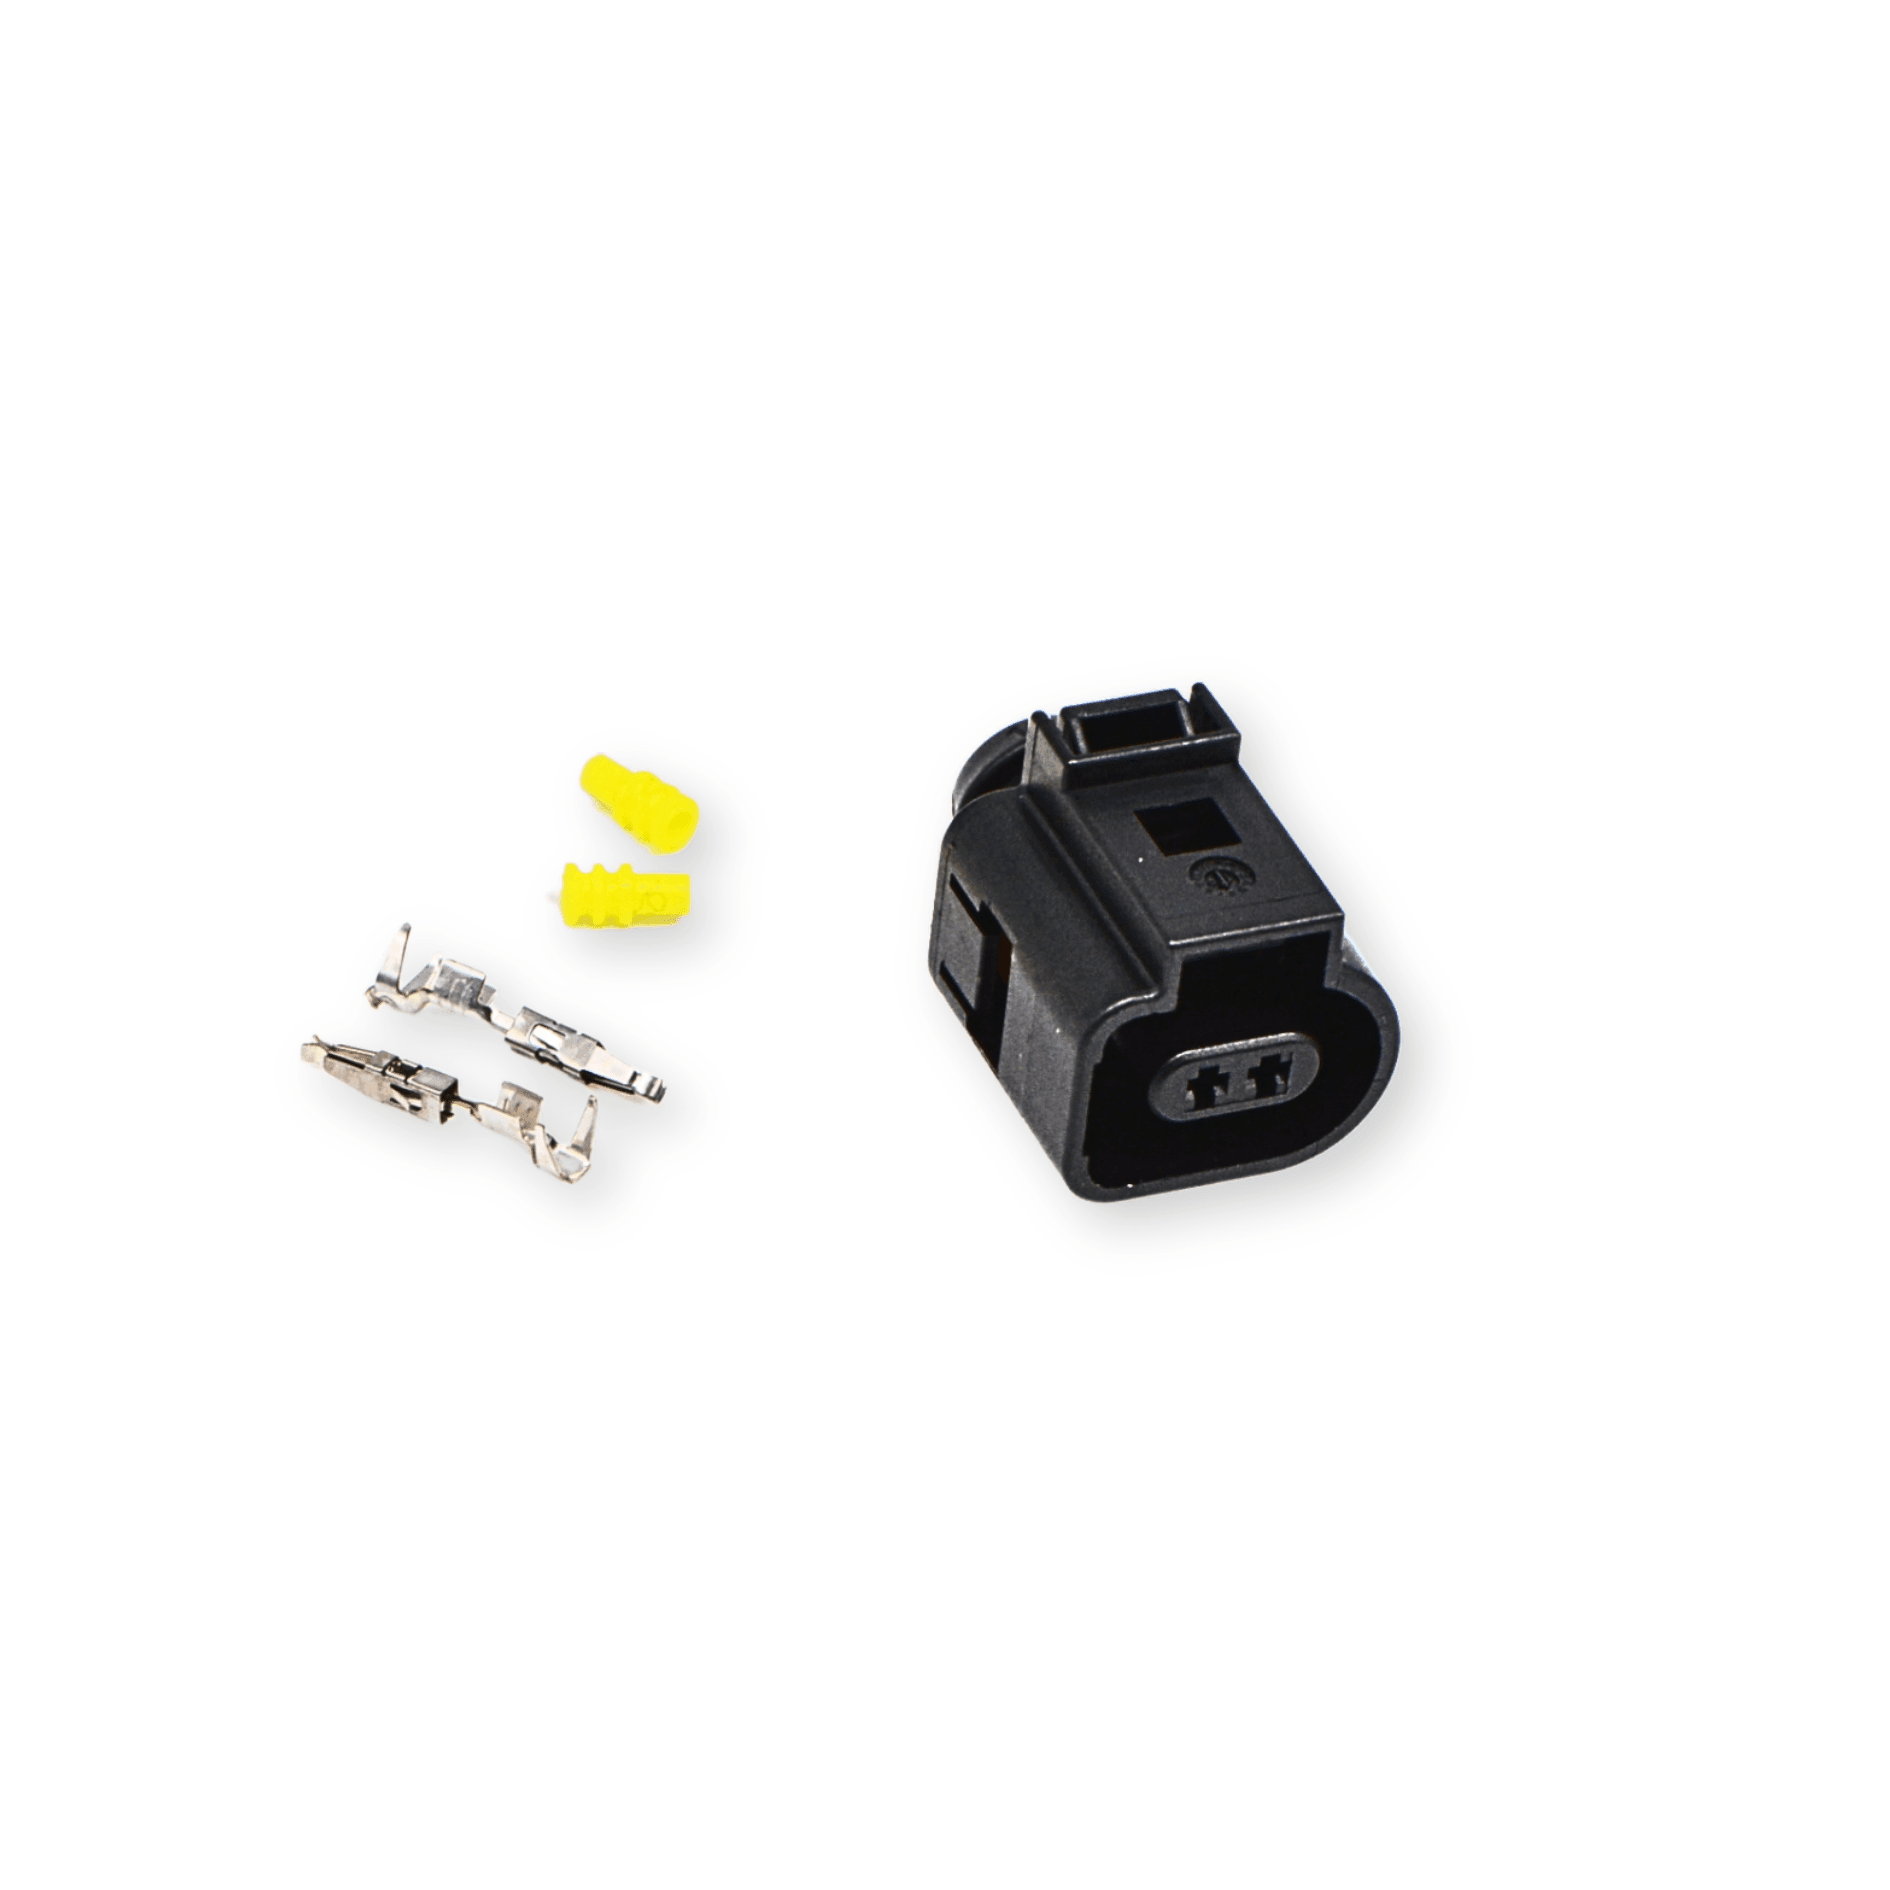
Once you’ve traced symptoms to a worn pump nose or a failed connector, the repair is usually parts-specific rather than a full unit swap. Mindaugas’s guides on HaldexParts.co.uk walk through both jobs in detail: the AWD Pump Nose Replacement Tips for 1st & 2nd generation Haldex pumps cover the earlier pump design, where nose wear is a known point of failure after sustained overpressure. For 2nd, 3rd and 4th generation pumps, the AWD Pump Connector Plug Replacement Tips address the connector plug, a common source of erratic pump behaviour that gets misdiagnosed as a fluid problem.
Why most overfill advice online misses the point
Most articles on this treat overfill as a single, isolated fault: too much oil, drain some out, done. That’s rarely the whole picture. The forum evidence and service guidance both point to overfill acting as a trigger that exposes weaknesses already present, a strainer that needed cleaning, a seal on its way out, a vent that was never quite clear. Fixing the level without checking those things is why so many owners report the same symptoms returning within a few months of a “successful” top-up.
What the reader should prioritise first is the diagnostic sequence, not the fix itself. Confirm whether it’s genuinely overfill, wrong fluid, or a blocked vent before ordering parts. The conventional wisdom that a drain and refill solves everything only holds if you’ve also ruled out the mechanical causes hiding behind the symptom. Get that sequence right and you’ll fix it once rather than three times.
— Mindaugas
Get the right parts once you’ve confirmed the cause
Haldexparts exists for exactly the moment you’ve reached after working through this checklist: you know it’s a pump nose, a connector plug, a filter, or a seal, and you need an OEM-grade part rather than a guess off a generic listing. Every product is selectable by brand and by Haldex generation, so you’re not stuck cross-referencing part numbers across four different systems.
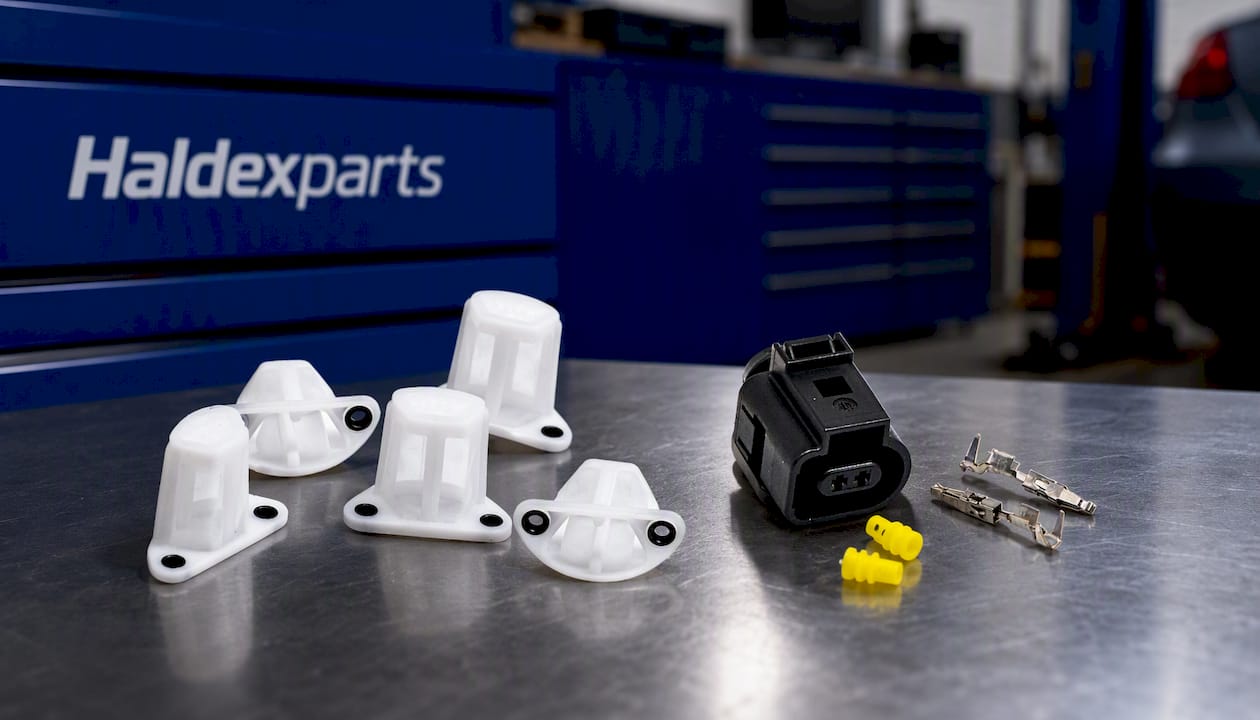
If your diagnosis pointed to pump wear on a 1st or 2nd generation unit, the pump nose replacement kit is built for exactly that repair. For later generations where a connector plug turned out to be the culprit, the connector plug replacement set covers 2nd, 3rd and 4th generation pumps. For a full service, browse the complete range of pumps, oils, filters and service kits by vehicle brand and generation, and orders above a certain threshold ship free.
Sources
Cross-check any pump-adaptation or current readings against generation-specific guidance before assuming the worst. The 5th-generation Haldex faults breakdown and the forum threads linked above remain some of the most consistent real-world references going.
- What happens if you overfill the haldex fluid?
- Leak Haldex AWD | SwedeSpeed
- Haldex oil change service guide - Mechalex
- VW, Audi, Skoda, Seat: 5th-generation Haldex Details and common faults
FAQ
What are the signs that my Haldex system is failing?
A failing Haldex system typically shows humming or whining from the rear, judder on tight turns, wheel scuffing at low speed, or visible oil seepage from weep holes. Stored AWD fault codes and abnormal pump current readings often confirm what the physical symptoms suggest.
How often should I replace Haldex fluid?
Haldex fluid should be changed on the manufacturer’s recommended service interval rather than left indefinitely, since degraded fluid contributes to pump wear and clutch pack contamination. Always use the manufacturer-specified Haldex fluid rather than a generic gear oil, since wrong viscosity fluids have been directly linked to weep-hole seepage.
How do I test if my Haldex system is working properly?
Test by checking for smooth engagement on tight turns with no judder, listening for unusual humming at idle or light throttle, and scanning for stored fault codes and pump adaptation values outside normal range. A physical check of the drain plug and weep holes for seepage should form part of any proper test.
How do I check the Haldex oil level?
Park on level ground, remove the drain plug, and observe the amount and consistency of fluid that comes out compared with the manufacturer’s specified volume for your generation. Cleaning the strainer or filter at the same time catches problems that mimic overfill symptoms but actually stem from a blocked screen, as service guidance widely recommends.



