

Most Haldex-related vibration comes down to one of three root causes: contaminated AOC/Haldex fluid causing clutch drag, worn rear differential or pinion bearings generating a road-speed drone, or a tyre rolling-diameter mismatch forcing the system to correct constantly. A fluid-and-filter service is the cheapest first move and clears the symptom in a significant proportion of cases. If the drone persists after a service, you are almost certainly looking at bearing wear or a tyre setup issue.
Three quick checks before you book anything in:
- Measure tyre rolling circumference front-to-rear. A difference of as little as 5–10 mm can keep the Haldex clutch partially engaged and produce a persistent drone. Swap to a square (matched front-and-rear) tyre setup and retest.
- Drain and inspect the Haldex/AOC fluid. Dark, metallic-smelling oil with visible particles means the clutch pack or bearings are already shedding material. Clean, slightly discoloured oil means a service will likely fix it.
- With the car safely on a lift, spin each rear wheel by hand and listen for roughness. Rough rotation points to differential or wheel bearing wear that a fluid change will not cure.
After those checks, one of three outcomes is likely:
- Vibration resolves after a Haldex service and tyre square-up.
- Vibration resolves after matching tyres alone (no mechanical fault present).
- Vibration persists, pointing to bearing wear, pump failure, or clutch pack damage requiring component replacement.
Table of Contents
- How does Haldex vibration feel, and how do you know it’s not something else?
- What actually causes Haldex vibration? The mechanical breakdown
- Step-by-step: how to pinpoint whether the Haldex is actually the cause
- What does a full Haldex service actually involve?
- When a service won’t fix it: signs you need replacement parts
- What does Haldex repair cost in the UK?
- How to prevent Haldex vibration: maintenance and driving habits
- Which garage should you use, and what should you ask them?
- OEM parts and filter kits for Haldex systems: what to order
- Key takeaways
- The service-first principle is not just cost-saving advice
- OEM Haldex service kits and filters, delivered across the UK
- Useful sources and further reading
How does Haldex vibration feel, and how do you know it’s not something else?
The sensation varies depending on the underlying cause, but a few signatures are consistent enough to be useful. A rear-axle drone that rises steadily with road speed, independent of engine RPM, is the clearest indicator of worn differential or pinion bearings. It often sounds like driving over a rumble strip, and it does not change when you dip the clutch or shift to neutral.
Clutch-drag vibration from contaminated fluid feels different: a low-frequency shudder or surge that appears under light cornering or during gentle acceleration from low speed. Some owners describe it as the car “catching” every few seconds. It tends to be worse when the system is cold and eases slightly once the oil warms up.
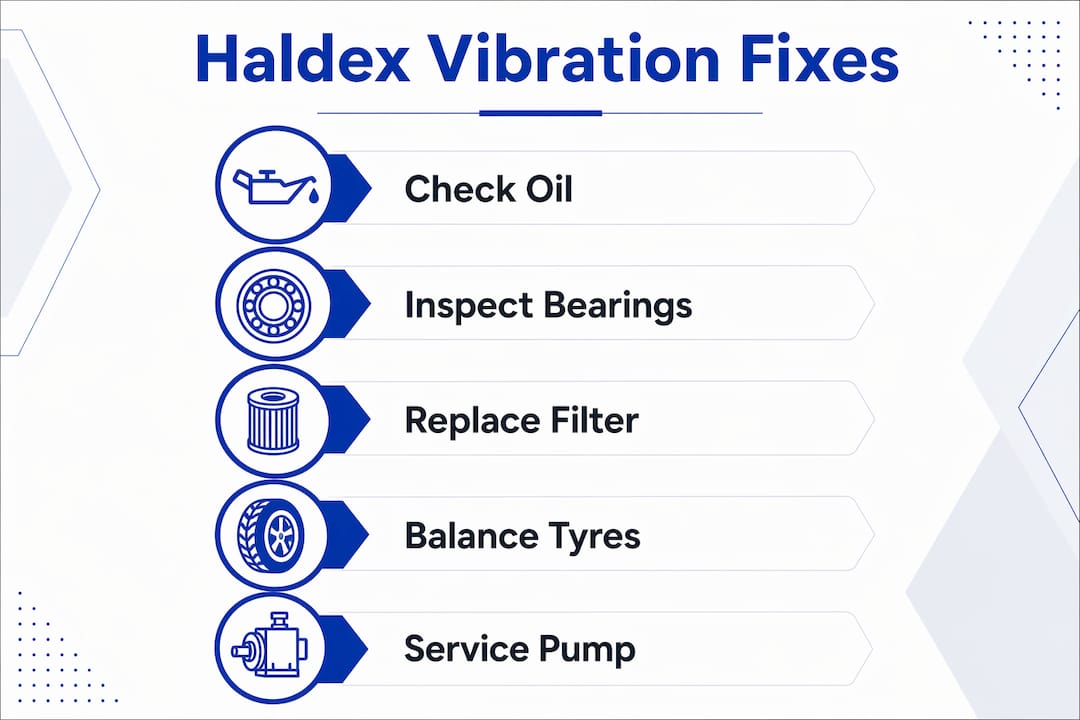
A tyre-diameter mismatch produces a subtler, more constant drone that can be mistaken for a wheel bearing. The key diagnostic clue is that it disappears or changes noticeably when you swap to a square tyre set, even temporarily.
Quick isolation checks:
- Neutral/clutch test: shift to neutral at speed. If the noise continues unchanged, it tracks wheel speed, pointing to diff bearings or tyres rather than the engine or gearbox.
- AWD fuse test: on vehicles where the Haldex fuse can be removed to disable rear-axle engagement, pull it and retest. Vibration that disappears confirms the Haldex or rear diff as the source.
- Wheel-off rotation test: with the car on axle stands, spin each rear wheel by hand. Roughness or notchiness indicates bearing wear.
- Low-speed corner test: at 10–15 mph, turn gently in a car park. A clunk or shudder on turn-in points to clutch drag from contaminated fluid.
Pro Tip: If the noise changes when you swap the rear tyres side-to-side (directional swap), the fault is almost certainly tyre-related, not mechanical. This one swap can save you hundreds of pounds in unnecessary parts.
The Fluke vibration analysis framework confirms that imbalance, misalignment, and wear are the dominant causes of vibration in rotating equipment. In a Haldex rear axle, all three can be present simultaneously, which is why isolating the source before ordering parts matters.
What actually causes Haldex vibration? The mechanical breakdown
Contaminated or aged AOC/Haldex fluid
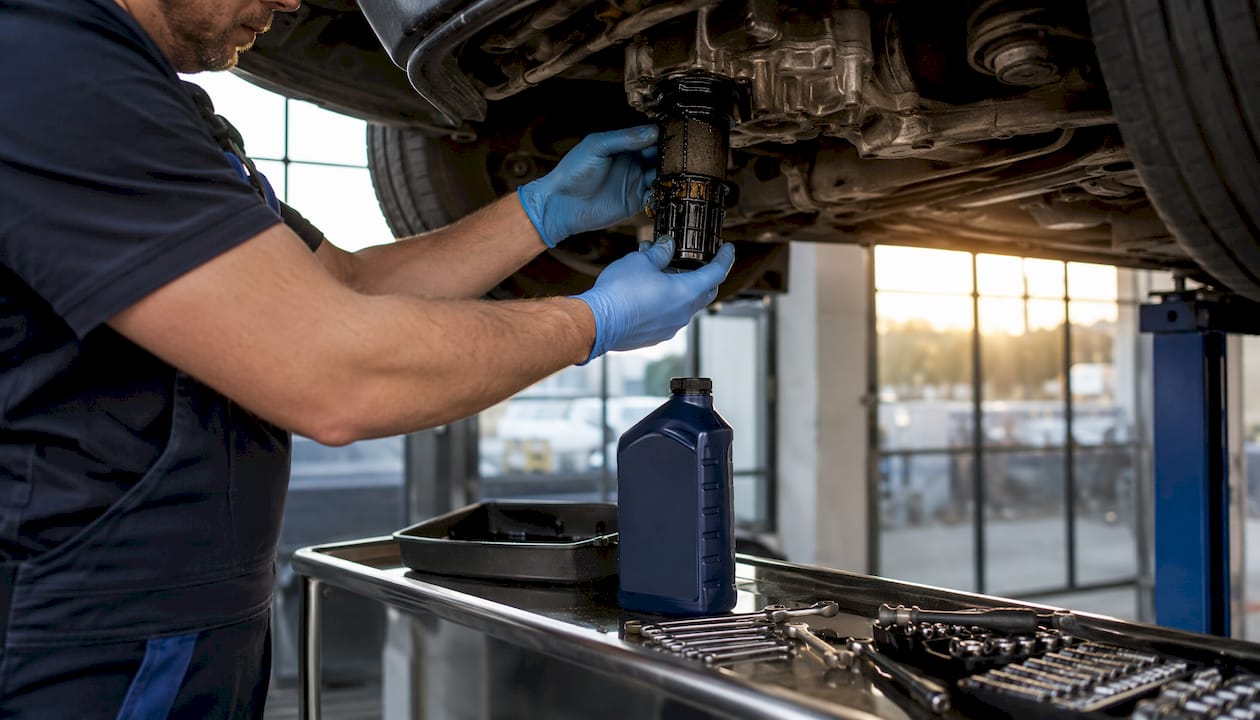
This is the most common cause and the easiest to fix. As the fluid ages, it loses its hydraulic properties and accumulates fine metallic particles from normal clutch wear. That sludge blocks the gauze strainer, starves the pump, and causes the clutch plates to drag rather than release cleanly. The result is an uneven engagement cycle that the driver feels as a shudder or surge. Contaminated oil also increases strain on the pump motor, accelerating wear on components that are expensive to replace.
Worn differential and pinion bearings
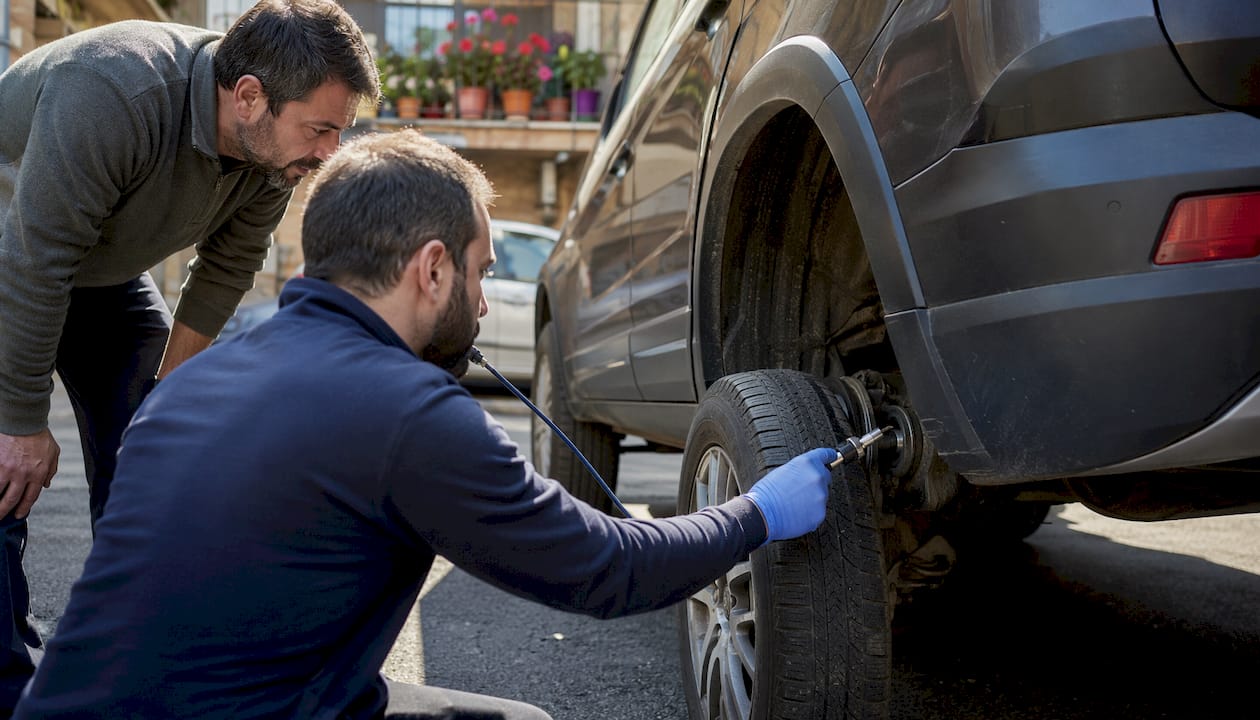
Worn tapered roller bearings in the pinion and carrier produce a road-speed drone that is often mistaken for a tyre noise. Left unattended, the play they introduce damages the crownwheel and pinion mesh, turning a bearing job into a full differential rebuild. The bearing noise typically starts as a faint hum at 40–50 mph and becomes a pronounced growl at higher speeds.
Failing Haldex pump or pump motor
A worn pump motor or blocked gauze produces inconsistent hydraulic pressure. The clutch pack engages and releases in irregular cycles, generating a shudder under torque demand. Pump failures often appear first as fault codes (pump motor resistance out of range) before the vibration becomes obvious.
Vibration dampener failure on the input flange
The Haldex input flange carries a rubber-bonded dampener ring, similar in function to a crankshaft harmonic balancer. When the rubber deteriorates, the ring becomes free to move and can contact the pump housing, producing an intermittent scraping or resonant vibration. This failure is less common but worth checking if the driveshaft has already been inspected and cleared.
Tyre and wheel setup issues
A small difference in tyre diameter between front and rear axles is enough to keep the Haldex clutch partially engaged at all times. The system interprets this speed difference as wheel slip and responds with continuous torque transfer, producing drone and accelerating clutch wear. Switching to a matched square tyre set has resolved vibration in multiple documented cases without any mechanical repair.
Community case studies confirm that staggered setups, uneven tread wear, and mismatched tyre brands across axles are responsible for a significant share of Haldex vibration complaints. The system’s control logic cannot distinguish between genuine wheel slip and a rolling-circumference mismatch.
ECU tuning and aggressive torque settings
Altered ECU maps that raise torque output force the Haldex to operate at higher engagement levels for longer periods. This accelerates pump and clutch wear and can cause vibration to appear on vehicles that were previously symptom-free. Returning to factory tyre specifications and stock torque maps often reduces the stress on the AWD system noticeably. For more on how tuning affects the system, the Haldex controller tuning guide covers the risks in detail.
Step-by-step: how to pinpoint whether the Haldex is actually the cause
Work through these in order. Each step either confirms or rules out a cause before you move to the next.
- Check tyre condition and match. Measure tread depth at four points on each tyre. Note the brand, size, and wear pattern. Any tyre with significantly less tread than its axle partner, or any front-rear diameter mismatch, is a suspect. Correct this first before any mechanical investigation.
- Road test with notes. Drive at 30, 50, and 70 mph on a flat road. Note whether the vibration tracks speed (consistent at a given mph regardless of gear) or RPM (changes with engine load). Speed-tracking noise points to diff/bearings/tyres. RPM-tracking noise points to engine or gearbox.
- Neutral/clutch test at speed. At 50 mph on a clear road, shift to neutral. If the noise continues at the same intensity, the source is rotating with the wheels, not the engine. This single test rules out most gearbox and engine causes.
- AWD fuse isolation test. Locate the Haldex/AWD fuse in the fusebox (consult the vehicle handbook for the correct fuse). Remove it and repeat the road test. Vibration that disappears confirms the rear axle as the source. Safety note: do not drive at speed with the fuse removed for extended periods; this is a diagnostic test only.
- Lift inspection. With the car safely supported on axle stands or a two-post lift, spin each rear wheel independently. Listen and feel for roughness, notchiness, or play. Check the pinion flange for radial play by gripping it and attempting to move it. Any detectable play indicates bearing wear.
- Drain and inspect the Haldex oil. Drain the fluid into a clean white container. Dark brown or black oil with a metallic sheen, visible particles, or a burnt smell indicates clutch or bearing wear. Slightly discoloured but clean oil suggests the fluid is simply aged and a service may resolve the symptom.
- OBD/VCDS diagnostic scan. Connect a VCDS or compatible diagnostic tool and check for stored fault codes in the Haldex/AWD control module. Pump motor resistance faults, adaptation value errors, or pressure sensor codes confirm pump or sensor failure. The Haldex fault diagnosis guide covers the specific adaptation routines in detail.
- Pump motor resistance test. Disconnect the pump motor connector and measure resistance across the terminals with a multimeter. An out-of-specification reading confirms motor failure and means a service alone will not fix the problem.
If steps 1–5 produce no clear finding and the oil looks clean, a service is still worth doing before ordering mechanical parts. If steps 5–8 reveal bearing play, metallic contamination, or pump fault codes, proceed directly to component replacement.
What does a full Haldex service actually involve?
A proper Haldex fluid-and-filter service is the recommended first-line fix for clutch-drag vibration, and it is straightforward enough for a competent DIYer with basic tools. Changing the AOC/Haldex oil and cleaning the gauze filter has cleared clutch-drag symptoms in numerous documented cases.
| Service step | What it involves | Why it matters |
|---|---|---|
| Drain and inspect oil | Remove sump plug, drain into clean container, check for contamination | Identifies clutch/bearing wear before refilling |
| Remove and clean/replace gauze filter | Extract the strainer assembly, clean or replace with OEM filter | Clears sludge blocking pump inlet |
| Inspect pump and motor | Check motor connector, measure resistance, look for seal leaks | Confirms pump is serviceable before refilling |
| Refill with correct oil | Use manufacturer-specified AOC/Haldex fluid to correct volume | Restores hydraulic properties for clean clutch engagement |
| Sealing washers and sump plug | Replace copper or aluminium sealing washer on sump plug | Prevents oil leaks after service |
Parts and consumables you need:
- Correct AOC/Haldex fluid for your vehicle generation (always use the OEM-specified grade; mixing grades degrades clutch performance)
- OEM gauze/strainer filter assembly (part number varies by vehicle and generation)
- Sump plug sealing washer
- Torque wrench for sump plug (over-tightening strips aluminium housings)
Pro Tip: Always use an OEM or OEM-equivalent filter. Aftermarket gauze filters with incorrect mesh size can pass particles that the original design was meant to catch, or restrict flow more than the pump expects. The difference in price is small; the difference in outcome can be significant.
DIY vs. professional: draining, cleaning the gauze, and refilling is achievable at home with a torque wrench and the correct fluid. Pump motor resistance testing and VCDS adaptation resets require specialist tools and are best left to a workshop with Haldex experience. For a full explanation of why regular fluid changes matter, the Haldex flushing guide covers the oil degradation process in detail.
When a service won’t fix it: signs you need replacement parts
A fluid change is not the answer when the underlying components are already worn. The following signs indicate you need to go further.
Indicators that service is insufficient:
- Metallic particles or scoring debris visible in the drained oil
- Persistent growl or drone after a fresh service and tyre square-up
- Detectable radial play at the pinion flange
- Fault codes confirming pump motor resistance failure
- Vibration that returned within weeks of a previous pump replacement (pointing to clutch pack or internal diff wear as the real cause)
When a pump replacement fixes the vibration temporarily but the symptom returns within months, the pump was not the root cause. The clutch pack or internal differential components were already worn, and the new pump simply delayed the inevitable. Inspect the drained oil for metallic contamination before deciding which component to replace.
Forum evidence confirms this pattern: pump replacement alone, without addressing clutch or diff wear, produces temporary relief followed by recurrence.
Parts commonly replaced at this stage:
- Haldex pump or pump motor assembly
- Clutch pack or clutch rings
- Pinion and side bearings
- Vibration dampener ring and input flange seals
For OEM filter assemblies and service kits, the mandatory BorgWarner part numbers are covered in the parts section below.
What does Haldex repair cost in the UK?
Costs vary by vehicle brand, Haldex generation, and whether you use OEM or aftermarket parts. The figures below are realistic UK estimates for 2026.
| Repair type | DIY parts cost | Independent workshop (parts + labour) | Main dealer |
|---|---|---|---|
| Fluid and filter service | £40 | — | — |
Practical notes on UK costs:
- Independent specialists with Haldex/AWD experience typically charge 30–50% less than main dealers for the same OEM parts.
- Labour time for a fluid-and-filter service is typically 1–2 hours at an independent workshop.
- Pump motor replacement usually takes 2–4 hours; a clutch pack rebuild or bearing repair can take a full day.
- OEM parts sourced directly (rather than through a dealer) reduce parts costs significantly without compromising quality.
Parts lead times from UK suppliers are generally 1–3 working days for common Haldex generations. Obscure or older generation parts may take longer.
How to prevent Haldex vibration: maintenance and driving habits
Prevention costs far less than repair. Most Haldex vibration problems are avoidable with a consistent maintenance schedule and sensible tyre management.
Recommended maintenance schedule:
- Change Haldex/AOC fluid and clean or replace the gauze filter every 30,000–40,000 miles or every 3 years, whichever comes first. High-mileage drivers or those who tow should shorten this to 20,000–25,000 miles.
- Inspect the rear differential oil at the same interval and change it if discoloured or contaminated.
- Check the vibration dampener ring on the input flange whenever the driveshaft is removed for any reason.
Tyre management:
- Keep a square tyre setup wherever possible: same brand, same compound, same tread depth front and rear.
- Check rolling circumference when fitting new tyres. Even tyres of the same nominal size from different manufacturers can differ by several millimetres in actual diameter.
- Rotate tyres front-to-rear at every service to equalise wear. Avoid mixing brands across axles.
- Replace tyres in axle pairs, not individually. A single new tyre on one end of an axle creates an immediate diameter mismatch.
Pro Tip: Before fitting any new tyre, measure the overall diameter of the new tyre against the one it is replacing. A quick tape measure check takes 30 seconds and can prevent months of diagnostic headaches.
ECU and tuning notes:
- Avoid aggressive ECU remaps that substantially increase torque output without upgrading the Haldex pump and clutch pack to match.
- If the vehicle has been remapped, return to factory tyre specifications as a minimum. Wider or lower-profile tyres change the rolling circumference and increase AWD correction frequency.
- Disable traction control defeat modes for normal road use. Continuous AWD engagement under track-style driving accelerates clutch wear rapidly.
Which garage should you use, and what should you ask them?
Not every workshop that claims AWD experience has actually worked on Haldex units. The system has specific diagnostic requirements that general mechanics often lack.
Workshop capabilities that matter:
- VCDS or equivalent diagnostic software with Haldex module access
- Two-post lift or axle stands for wheel-off inspection
- Experience with differential bearing replacement (not just fluid changes)
- Ability to perform pump motor resistance tests and adaptation resets
Questions to ask before booking:
- Have you serviced Haldex or AOC units on this specific vehicle family before?
- Will you inspect the drained oil for metallic contamination before deciding on the repair scope?
- Do you test pump motor resistance as part of the diagnosis?
- Can you run a VCDS adaptation reset after the service?
- Will you perform a road test before and after to confirm the symptom is resolved?
Red flags to watch for:
- Workshop recommends full differential replacement before performing a service or bearing inspection.
- No mention of pump testing or oil inspection in the quoted work.
- Unable to run AWD fuse isolation tests or wheel-off checks.
- Quote for parts only, with no diagnostic procedure described.
A competent independent specialist will always service first, inspect the drained oil, and only escalate to component replacement when the evidence justifies it. For more on recognising early failure signs, the Haldex unit failure guide is a useful reference to share with your workshop.
OEM parts and filter kits for Haldex systems: what to order
Using the correct OEM filter and fluid is not optional. The wrong filter mesh size or an incompatible fluid grade will either restrict pump flow or fail to catch the particles that cause clutch wear. The BorgWarner filter assemblies below are the correct OEM-specification parts for the most common Haldex-equipped vehicles in the UK.
| Part name | OEM part number | Compatible models |
|---|---|---|
| BorgWarner Coupling Filter Kit | 20986573 | Saab, Opel, Vauxhall, Buick, Cadillac AWD systems |
| BorgWarner AOC Filter Assembly | 31325173 / 31259352 | Volvo S60, S80, V60, V70, XC70, XC60, XC90 |
| BorgWarner AOC Filter 3rd Gen | 30787687 | Volvo 3rd-generation AWD systems |
Compatibility notes:
- Part 20986573 covers the BorgWarner coupling used across Saab 9-3/9-5, Opel/Vauxhall Vectra and Signum AWD variants, and several Buick and Cadillac models sharing the same platform.
- Parts 31325173 and 31259352 are interchangeable filter assemblies for the Volvo AOC unit fitted to the P2 and P3 platform models listed above.
- Part 30787687 is specific to the 3rd-generation Volvo AOC and is not interchangeable with the 4th-generation filter.
Pro Tip: Always confirm the Haldex generation fitted to your vehicle before ordering. Generation 1 through 5 use different pump designs and filter assemblies. The vehicle VIN or the generation stamp on the Haldex unit housing is the most reliable way to confirm this.
Haldexparts stocks service kits covering Audi, VW, Volvo, Ford, Land Rover, Škoda, Seat, Opel, Saab, and Vauxhall AWD systems, with OEM-grade filters, correct-specification oils, and pump assemblies selectable by brand and generation.
Key takeaways
Haldex vibration is almost always caused by contaminated fluid, worn differential bearings, or a tyre diameter mismatch, and a fluid-and-filter service is the correct first step before replacing any mechanical components.
| Point | Details |
|---|---|
| Service first, replace second | Drain and inspect the oil before ordering parts; clean fluid means a service may resolve the vibration. |
| Tyre match is critical | A slight diameter difference between front and rear tyres can keep the Haldex clutch engaged continuously and cause persistent drone. |
| Speed-tracking noise means diff or tyres | Noise that stays constant in neutral points to wheel-speed sources, not the engine or gearbox. |
| Metallic contamination means component wear | Particles in the drained oil indicate clutch or bearing damage that a fluid change alone will not fix. |
| Haldexparts for OEM kits | Haldexparts supplies BorgWarner filter assemblies (20986573, 31325173/31259352, 30787687) and complete service kits for most UK AWD models. |
The service-first principle is not just cost-saving advice
There is a pattern that repeats itself in Haldex diagnostics: a driver reports vibration, a workshop replaces the pump, the vibration returns three months later, and the workshop then quotes for a full differential rebuild. The pump was never the primary fault. The clutch pack was already worn, and the contaminated fluid had been doing the damage for years before the symptom became obvious.
The diagnostic order in this article is not arbitrary. Inspecting the drained oil costs nothing beyond the service itself. A metallic sheen in the drain pan tells you more in five seconds than an hour of road testing. Workshops that skip this step and go straight to part replacement are not being thorough; they are being expensive.
The other thing that gets underestimated is the tyre check. A 1 cm diameter difference sounds trivial. In practice, it means the Haldex control unit is issuing correction commands on every revolution of the wheel, every mile, every day. The clutch never fully releases. The pump never rests. By the time the vibration is noticeable, the wear is already significant.
Service the fluid, match the tyres, then investigate mechanically. That order saves money and produces the right answer faster.
OEM Haldex service kits and filters, delivered across the UK
Haldexparts stocks OEM-grade service kits, BorgWarner filter assemblies, correct-specification AOC oils, and pump assemblies for Audi, VW, Volvo, Ford, Land Rover, Škoda, Seat, Opel, Saab, and Vauxhall AWD systems. Orders over £150 qualify for free UK delivery, and parts are selectable by brand and Haldex generation so you order the right item first time.
The three BorgWarner filter assemblies covered in this article (20986573, 31325173/31259352, and 30787687) are stocked and ready to ship. If you are supplying a workshop, bulk and B2B ordering is available. Browse the full Haldex service kit range or check compatibility by VIN or model on the shop page before ordering.
Useful sources and further reading
The following sources were used in preparing this article and are worth bookmarking for your own diagnosis or workshop reference.
- Haldex rear differential bearing failure: noise, symptoms and repair (Eco Torque) — detailed technical explanation of bearing wear patterns, drone characteristics, and the risk of crownwheel/pinion mesh damage. Also covers oil contamination and sludge formation. The most technically thorough single source on Haldex bearing and fluid issues.
- Haldex control: faults and fixes (Eco Torque) — covers control unit faults, pump diagnostics, and common fault codes. Useful for workshops running VCDS adaptation routines.
- Haldex vibration dampener failure thread (SwedeSpeed) — first-hand account of dampener ring failure on a Volvo S60R, including a DIY repair using silicone. Useful reference for anyone investigating input flange vibration.
- Haldex droning/vibration thread (Audi-Sport.net) — community case studies showing vibration resolved by switching to a square tyre set. Good evidence base for the tyre-matching diagnostic step.
- Vibrations from rear diff/Haldex (Audizine) — owner-reported case with a 1 cm tyre diameter difference as the confirmed root cause. Useful for understanding how small diameter mismatches produce significant symptoms.
- Haldex AWD vibration/jumping (Volvo Owners Club Forum) — Volvo-specific cases where AOC oil change and gauze cleaning resolved clutch-drag vibration. Supports the service-first recommendation.
- Haldex/differential: rear axle vibrates in curves and during acceleration (Insignia Drivers UK) — case study showing pump replacement providing temporary relief followed by recurrence, pointing to clutch pack wear as the underlying cause.
- For oil contamination interpretation: the Eco Torque bearing failure article explains what metallic particles and sludge in the drained oil indicate. Dark oil with a metallic sheen points to clutch or bearing wear; slightly discoloured but clean oil suggests fluid age only.
- For part number verification: check the Haldexparts product pages directly for current stock and generation compatibility before ordering. VIN-based selection is available on the shop.



