

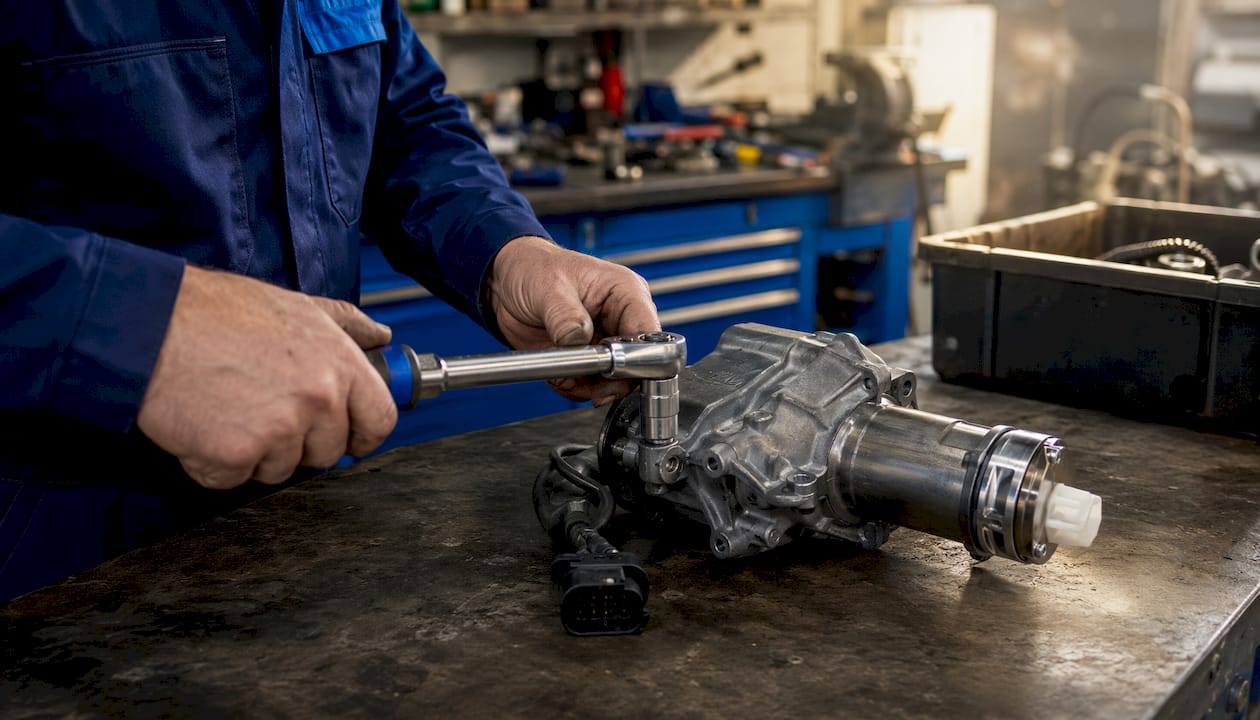
When mechanics ask “what is correct Haldex torque,” they almost always mean the tightening torque in Newton-metres for specific fasteners, not the drivetrain torque-transfer capability of the AWD system. Both meanings exist, and this guide covers both, but the Nm values for assembly come first.
The most commonly requested tightening torques for Haldex components are:
- Haldex clutch to rear final drive (coupling-to-diff bolts): the OEM-documented torque value
- Controller hex bolts: typically low torque values (confirm against OEM data for your generation)
- Precharge/oil pump bolts: typically low torque values (confirm against OEM data for your generation)
- Drain plug: commonly quoted moderate torque on VW/Audi applications but varies by design
- Fill plug: commonly quoted moderate torque on VW/Audi applications but varies by design
- Centre drive flange nut: high-torque fastener; consult your OEM workshop manual for the specific value, as it differs by vehicle and hub design
The 50 Nm coupling-to-diff figure comes directly from the SEAT Leon Mk2 workshop manual and is consistent with VW Group documentation across several platforms. Drain and fill plug values are widely quoted in community threads but vary by flange and plug design. Always confirm every value against the OEM workshop manual or VIN-specific data for your vehicle before final torquing.
Table of Contents
- What are the correct Haldex torque settings by generation?
- How do you torque Haldex components correctly?
- What does “Haldex torque” actually mean?
- Common torquing mistakes and how to spot Haldex faults
- How do you verify the correct torque value for your vehicle?
- Key takeaways
- Why OEM data beats forum advice every time
- OEM-grade Haldex parts, ready to ship across the UK
- Useful sources and further reading
What are the correct Haldex torque settings by generation?
Haldex has gone through five generations, and while the coupling-to-diff bolt torque tends to be consistent within VW Group vehicles, controller bolt and plug torques can differ. The table below maps generations to common vehicle families and the torque values most frequently referenced in OEM and technical documentation.
| Generation | Common vehicle groups | Coupling-to-diff bolts | Controller/pump bolts | Drain plug | Fill plug |
|---|---|---|---|---|---|
| Gen 2 | VW Golf 4Motion, Audi TT, Škoda Octavia 4x4, SEAT León 4WD | 50 Nm | ~8–10 Nm | ~30 Nm* | — |
| Gen 3 | Audi A3 quattro, VW Golf Mk5/6 4Motion, Škoda Octavia Mk2 | 50 Nm | ~8–10 Nm | ~30 Nm* | — |
| Gen 4 | VW Golf, Audi S3/TT, Volvo XC60/XC90 (some), Ford Galaxy/S-MAX 4WD | 50 Nm | ~8–10 Nm | ~30 Nm* | — |
| Gen 5 | Audi R8 (early), VW Golf R, Audi S3 8V, Land Rover Freelander 2 (some variants) | 50 Nm | ~8–10 Nm | ~30 Nm* | — |
*Drain and fill plug values are commonly quoted in technical threads but are not universal. They vary by plug design and flange type. Always replace crush washers and confirm the value in your OEM manual.
Generation-to-vehicle mapping notes:
- VW/Audi/Škoda/Seat: Gen 2 through Gen 5 depending on model year; the 50 Nm coupling-to-diff torque is consistent across VW Group documentation
- Volvo (XC60, XC90, V70 AWD): Uses Haldex Gen 4 in several variants; Volvo publishes its own torque values in VIDA workshop documentation, which may differ from VW Group figures
- Land Rover (Freelander 2): Uses a Haldex-based coupling; consult Land Rover workshop documentation rather than VW Group figures
- Ford (Galaxy, S-MAX, Kuga AWD): Ford-specific torque values apply; do not assume VW Group figures carry over
Pro Tip: If you are unsure which generation your vehicle uses, check the part number on the Haldex unit itself or use a VIN decoder. Gen 4 and Gen 5 units have an electric pre-charge pump mounted externally on the unit — Gen 2 and Gen 3 do not.
How do you torque Haldex components correctly?
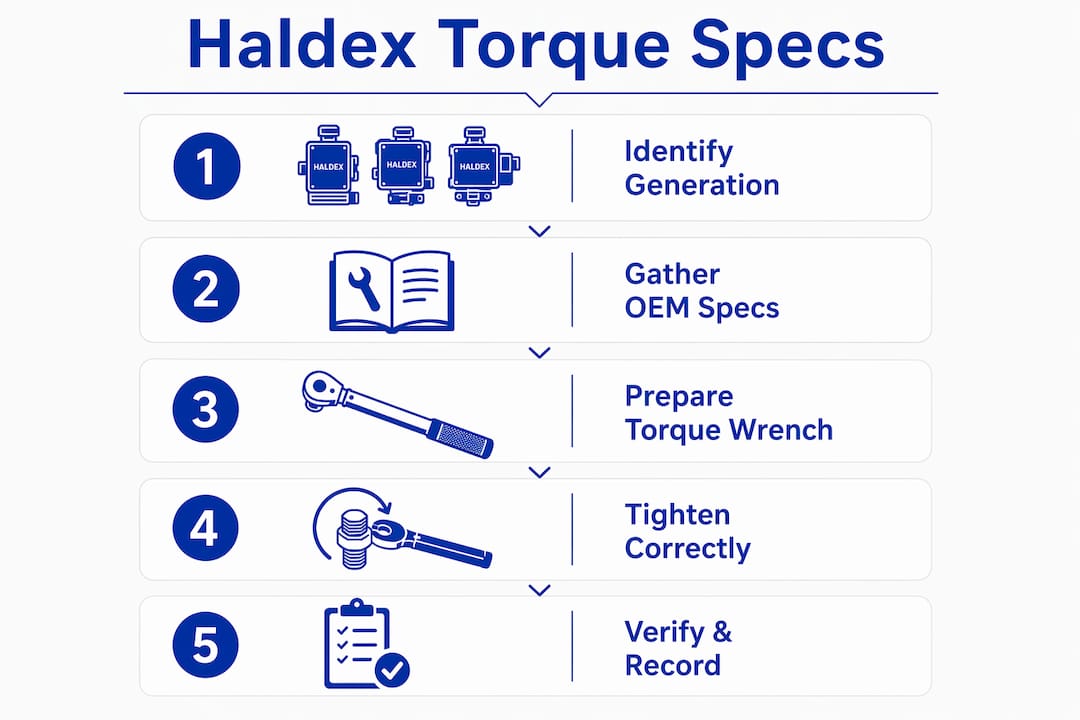
Getting the torque right is only half the job. The sequence, tools, and thread condition matter just as much as the Nm figure.
Tools you need
- Calibrated torque wrench: a 1/2-inch drive wrench covering 10–120 Nm handles most Haldex fasteners; for the centre drive flange nut you may need a 3/4-inch drive wrench or a dedicated hub-nut tool
- Torque angle gauge: required on any fastener that specifies an angle-tightening stage (check your OEM manual)
- Correct sockets: use hand-forged chrome-vanadium sockets for final torquing; never use impact sockets for torque-wrench work as their thicker walls can affect fit
- Thread locker: use only where the OEM manual specifies it; applying thread locker to fasteners that do not require it can cause over-torque readings and make future removal destructive
- New crush washers: always replace drain and fill plug washers; reusing them is one of the most common causes of weeping leaks after a service
Procedure
- Clean the threads. Remove any old thread locker, corrosion, or debris from both the bolt and the threaded bore. Damaged threads give false torque readings.
- Hand-start every fastener. Run each bolt in by hand until finger-tight. If it binds before seating, stop and investigate; forcing it strips the thread.
- Initial low-torque pass. Bring all fasteners to roughly 50% of the final torque value in the correct sequence (typically cross-pattern for multi-bolt flanges).
- Final torque pass. Torque to the specified Nm value in the same sequence. For coupling-to-diff bolts, work in a star pattern if there are six or more bolts.
- Mark fasteners. Use a paint pen or marker to draw a line across the bolt head and onto the surrounding surface. This makes it immediately obvious if a fastener has moved.
- Re-check after a heat cycle. After the first drive of 50–100 miles (80–160 km), re-check that no fastener has backed off. Aluminium housings in particular can relax slightly after thermal cycling.
Safety note on the centre drive flange nut: This is a high-torque fastener, often requiring a workshop press or a dedicated holding tool to prevent the flange from rotating during tightening. Attempting to hold the flange with a screwdriver through the diff is a reliable way to damage the unit. If you do not have the correct holding tool, this is the one job worth delegating to a workshop.
Never use an impact gun for the final torque pass on any Haldex fastener. Impact guns are useful for removal and for running fasteners down quickly, but they cannot deliver a controlled, measured torque. The final pass must always be done with a calibrated wrench.
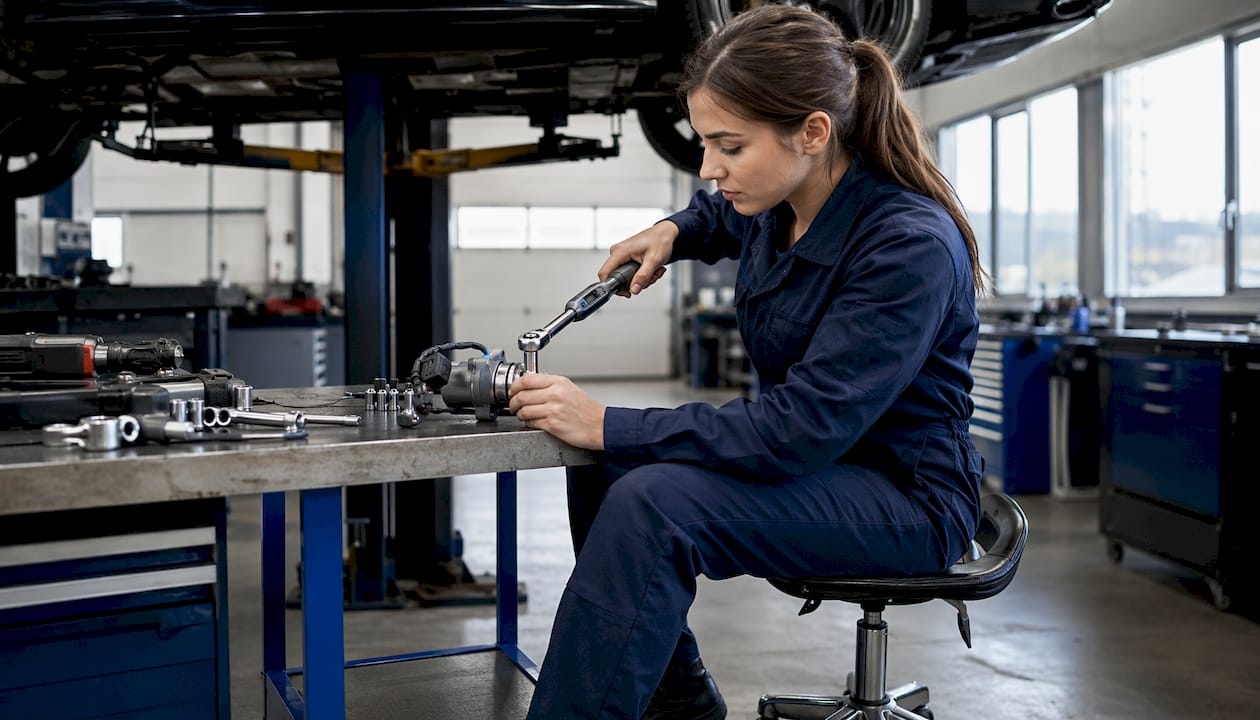
Pro Tip: Torque wrenches lose calibration over time, especially click-type wrenches that are stored under tension. Before any Haldex service, verify your wrench against a known reference or have it calibrated. A wrench that reads 10% low on a 50 Nm fastener leaves you at 45 Nm, which is enough to cause movement under load.
What does “Haldex torque” actually mean?
The phrase covers two entirely different things, and mixing them up leads to real diagnostic errors.
Tightening torque (Nm) is the rotational force applied to a fastener during assembly. It is what this guide is primarily about. Get it wrong and you either strip threads or leave components loose enough to move under load.
Drivetrain torque transfer is the amount of engine torque the Haldex coupling sends to the rear axle during driving. This is a dynamic, electronically controlled value, not a fixed specification you set with a wrench.
The popular idea that Haldex systems split torque 50/50 between front and rear is a myth. Under front-wheel slip, the system can transfer up to 100% of available torque to the rear axle. The resting split varies by generation: Gen 1 sits at roughly 90/10, Gen 2 and Gen 3 at approximately 95/5, while Gen 4 and Gen 5 rest at 100/0 and engage the rear axle on demand.
Gen 4 and Gen 5 systems are proactively controlled. The electric pump builds approximately 30 bar of system pressure, and the control unit J492 commands valve N373 to modulate clutch engagement continuously. The Haldex control module reads engine speed, accelerator position, and ABS/ESP sensor data to decide how much pressure to apply to the clutch plates. Full rear torque is available immediately on acceleration in these generations, which is why Haldex engagement triggers in Gen 4/5 feel noticeably sharper than in earlier units.
Understanding this distinction matters practically. If a customer complains the car “feels front-wheel drive,” the answer is not a torque wrench. It is a pressure test, an oil and filter service, or a diagnostic scan, not a re-torque of the coupling bolts.
Common torquing mistakes and how to spot Haldex faults
Most Haldex assembly errors fall into a small number of categories, and the symptoms they produce are recognisable once you know what to look for.
Common mistakes during assembly:
- Under-torqued controller bolts: the controller can vibrate loose, causing intermittent AWD engagement or fault codes
- Over-torqued flange nut: strips the thread or damages the bearing preload; the most expensive mistake on this list
- Reused crush washers on drain/fill plugs: leads to oil seepage that contaminates the coupling and degrades clutch performance
- Incorrect or missing thread locker: either causes fasteners to back off (none applied where specified) or makes removal destructive (applied where not specified)
- Contaminated threads: dirt or old sealant in the bore gives a false torque reading; the fastener feels tight but is not properly clamped
Diagnostic checklist for Haldex operation:
- Visual inspection for oil leaks around the coupling, filter housing, and plug areas
- Check oil condition and level; dark, metallic, or burnt-smelling oil indicates clutch wear or overheating
- Listen for pump noise on start-up; a whining or absent pump sound on Gen 4/5 units points to a pump fault
- Use VCDS or a compatible VAG diagnostic tool to read live Haldex pressure values and check for stored fault codes
- Road test: accelerate from a standing start on a loose surface or in a tight turn; the rear should engage noticeably. If the car understeers heavily and the rear feels inert, the system is not engaging
- Check the Haldex pressure sensor function if pressure readings are erratic or absent
When to go to a workshop: high-torque nut removal without the correct holding tool, suspected axle or differential damage, pump replacement on Gen 4/5 units, and any ECU-related fault that does not clear after a service. These are not jobs for a socket set and a YouTube video.
How do you verify the correct torque value for your vehicle?
Community forums and technical threads are a useful starting point, but they are not the final word. Values get copied between posts, generation details get dropped, and submodel differences disappear. The only figure worth trusting for a final torque pass is one you have traced back to an OEM source.
Where to find authoritative torque values:
- OEM workshop manual: the primary source. For VW Group vehicles, ELSA or ERWIN online portals give VIN-specific data. For Volvo, VIDA. For Land Rover, RAVE or the current InControl system.
- Self-Study Programmes (SSP) and Technical Service Publications: Volkswagen Group SSP documents (such as SSP 070 for Gen IV) contain working pressures, system descriptions, and sometimes fastener torques. They are available through official channels and some technical archives.
- Dealer parts fiche and VIN-specific data: your dealer can pull the exact specification for your VIN, including any running changes that affect torque values mid-production-run
- Recognised technical write-ups: sites that cite the OEM manual page or SSP document number are worth reading; those that do not are background reading only
Practical record-keeping: when you complete a Haldex service, note the manual edition, the page or section reference, and the torque values used. For a workshop, this goes in the job card. For a DIY owner, a photo of the manual page stored with the service record is sufficient. If a warranty claim or insurance query ever arises, having the source documented is far more useful than a forum post.
A VIN check before ordering parts also confirms the Haldex generation fitted to your specific car. Production changes sometimes mean two cars of the same model year use different generation units.
Key takeaways
Correct Haldex tightening torque for coupling-to-diff bolts across VW Group vehicles is documented in OEM manuals, but every value must be confirmed against the OEM workshop manual for your specific generation and VIN.
| Point | Details |
|---|---|
| Tightening torque vs torque transfer | “Haldex torque” means fastener Nm values for assembly, not the AWD system’s drivetrain torque split. |
| Coupling-to-diff bolt torque | 50 Nm is the OEM-documented value for VW Group vehicles across Gen 2–Gen 5. |
| Plug torques need OEM confirmation | Drain and fill plug values vary by design; always replace crush washers. |
| Calibrated tools are non-negotiable | Use a calibrated torque wrench; re-check fasteners after the first 50–100 miles (80–160 km). |
| Haldexparts for OEM-grade parts | Haldexparts stocks generation-specific pumps, oils, and service kits for VW, Audi, Volvo, Ford, and Land Rover. |
Why OEM data beats forum advice every time
There is a pattern in Haldex servicing that comes up repeatedly: a mechanic or DIY owner finds a torque value on a forum, applies it confidently, and then wonders why the coupling leaks or the controller throws a fault code six months later. The value was probably right for a different generation, a different submodel, or a different plug design. Forums are excellent for diagnosing symptoms and sharing experience, but they are a poor substitute for the OEM manual when it comes to assembly specifications.
The more important point is this: the Haldex system is hydraulic. Its performance depends on correct pressure, correct fluid, and correctly sealed components. A drain plug torqued 5 Nm too low with a reused washer will seep oil slowly, contaminate the clutch plates, and produce symptoms that look exactly like a failing pump or a worn coupling. The repair cost is a new crush washer and ten minutes of work. The misdiagnosis cost is a replacement unit.
SSP documents and OEM workshop manuals exist precisely because the engineers who designed these systems knew that small deviations in assembly have outsized consequences. Using OEM-grade Haldex filters and correct fluids matters for the same reason. The hydraulic pressure that controls torque delivery in Gen 4 and Gen 5 units is sensitive to fluid viscosity and filter condition, which is why a brake fluid upgrade for performance vehicles can significantly improve system responsiveness. A cheap aftermarket filter that bypasses at the wrong pressure threshold can make a perfectly assembled coupling behave like a faulty one.
Trust the manual. Verify the generation. Use calibrated tools.
OEM-grade Haldex parts, ready to ship across the UK
If you have confirmed your torque values and are ready to order parts, Haldexparts stocks OEM-grade pumps, oils, filters, and complete service kits for every Haldex generation, covering Audi, VW, Škoda, Seat, Volvo, Ford, Land Rover, Opel, Saab, and Vauxhall.
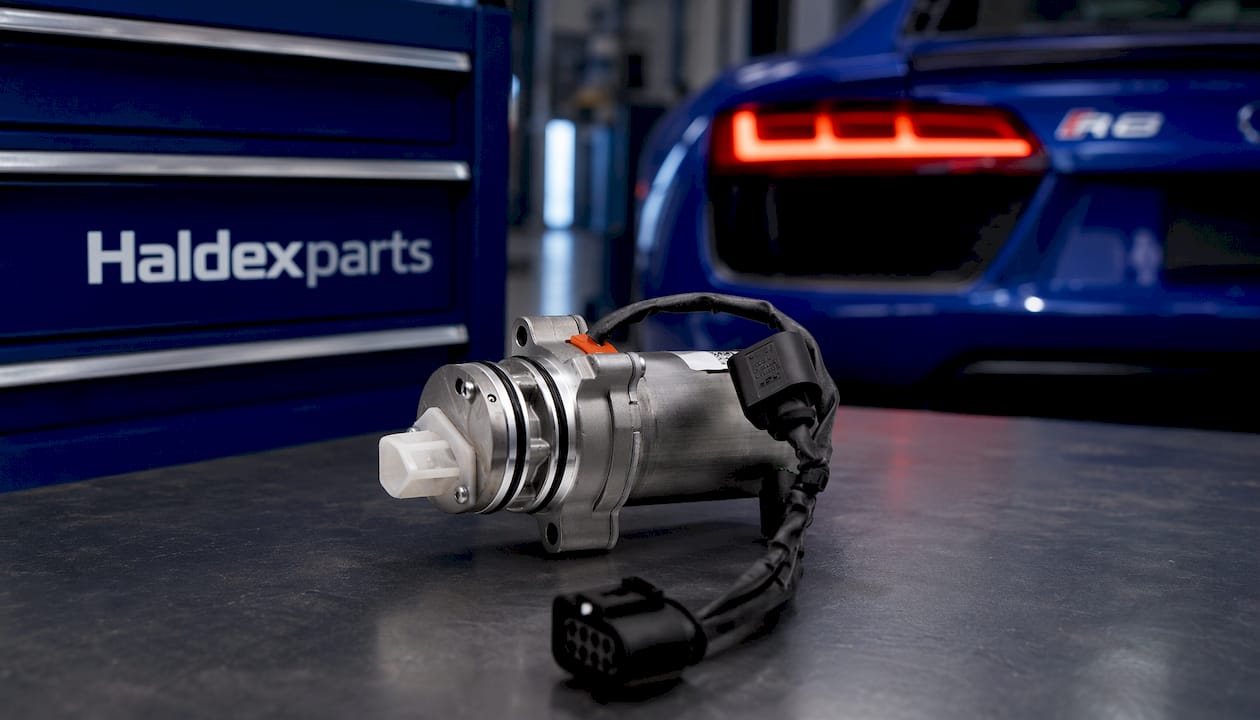
For Gen 5 applications, the Gen 5 Haldex oil pump (part 0D4906271A, compatible with the Audi R8 and other Gen 5 platforms) is stocked and ready to dispatch. Before ordering, confirm your Haldex generation and cross-reference the part number against your VIN to avoid a fitment mismatch. Free shipping applies on orders over £150, and all products come with full fitment details so you can match the correct kit to your vehicle without guesswork.
Browse by generation or vehicle at haldexparts.co.uk and order with confidence knowing the parts meet OEM specification.
Useful sources and further reading
The sources below are the most authoritative references used in this article. Each one is worth bookmarking if you work on Haldex-equipped vehicles regularly.
| Source | What it covers |
|---|---|
| SEAT Leon Mk2 workshop manual — Haldex clutch removal and fitting | OEM tightening torque for Haldex clutch to rear final drive (50 Nm); step-by-step removal and fitting procedure |
| SSP 070 — All-Wheel Drive With Haldex Coupling Generation IV (Scribd) | Gen IV system pressure (~30 bar), pump activation, component descriptions; essential for pressure diagnostics |
| VW Haldex 4Motion Generation IV — Technical PDF | Control unit J492, valve N373 operation, working pressure range; useful for ECU-related diagnostics |
| Audi TT Haldex Self-Study Guide — VAGlinks | CAN-bus signal inputs, clutch plate engagement logic; background on how the control module decides torque delivery |
| CarParts blog — A closer look at the Haldex AWD system | Generation-by-generation resting torque splits (Gen 1–5); useful for understanding drivetrain behaviour by generation |
| Beppocraig — How do Haldex couplings work? | Practical explanation of dynamic torque transfer and the 50/50 myth; good background reading for customers |
Additional resources to consult for your specific vehicle:
- VW Group ELSA/ERWIN online workshop portal (VIN-specific torque data and running changes)
- Volvo VIDA workshop system (for XC60, XC90, V70 AWD Haldex applications)
- Land Rover RAVE documentation (for Freelander 2 Haldex coupling specifications)
- Ford ETIS workshop system (for Galaxy, S-MAX, and Kuga AWD torque values)



