

The Haldex controller is usually bolted directly to the side of the rear differential housing, next to the pump assembly. Exact positioning shifts between generations and platforms, so before touching a bolt, run a scan with VCDS to confirm the fault sits with the controller and not the pump or filter.
TL;DR:
- Confirm the Haldex controller is the electronic module attached to the pump housing with wiring connectors and Allen bolts before attempting removal.
- Know your vehicle platform’s generation since placement and connector routing differ notably across Gen 2 through Gen 5 models.
- Always run a diagnostic scan to verify whether the fault lies with the controller, pump, or filter before replacing any parts.
- Match the part number stamped on the old controller against a generation table to ensure firmware compatibility and proper fitment.
- Use generation-specific repair kits when ordering replacement parts to avoid costly fitting errors and ensure correct repairs.
Table of Contents
- Where is the Haldex controller location on your car?
- How generation and platform change controller placement
- What tools and connectors you’ll need for the job
- Removing and refitting the Haldex controller step by step
- Common Haldex controller symptoms and how to avoid a wasted replacement
- How Haldexparts stocks the right parts for this job
- Why the diagnostic step gets skipped, and shouldn’t
- Order the correct kit once you’ve confirmed the fault
- Sources
Where is the Haldex controller location on your car?
Get under the rear of the car and look for the differential housing bolted to the subframe, roughly beneath the boot floor. The Haldex unit sits directly on that housing: a pump body with a compact electronic module clamped to its side. That module, not the pump itself, is the controller you’re after when a fault code points to the AWD system.
On the majority of MQB and PQ35 based Audi, VW, Seat and Škoda models, the controller sits on the passenger side of the differential, though some Volvo and Land Rover applications mount it closer to centre or slightly offset toward the front of the diff casing. If you’re staring at a plain metal housing with no wiring loom attached, you’re looking at the differential alone, not the AWD control unit.
A few visual cues confirm you’ve found the right part:
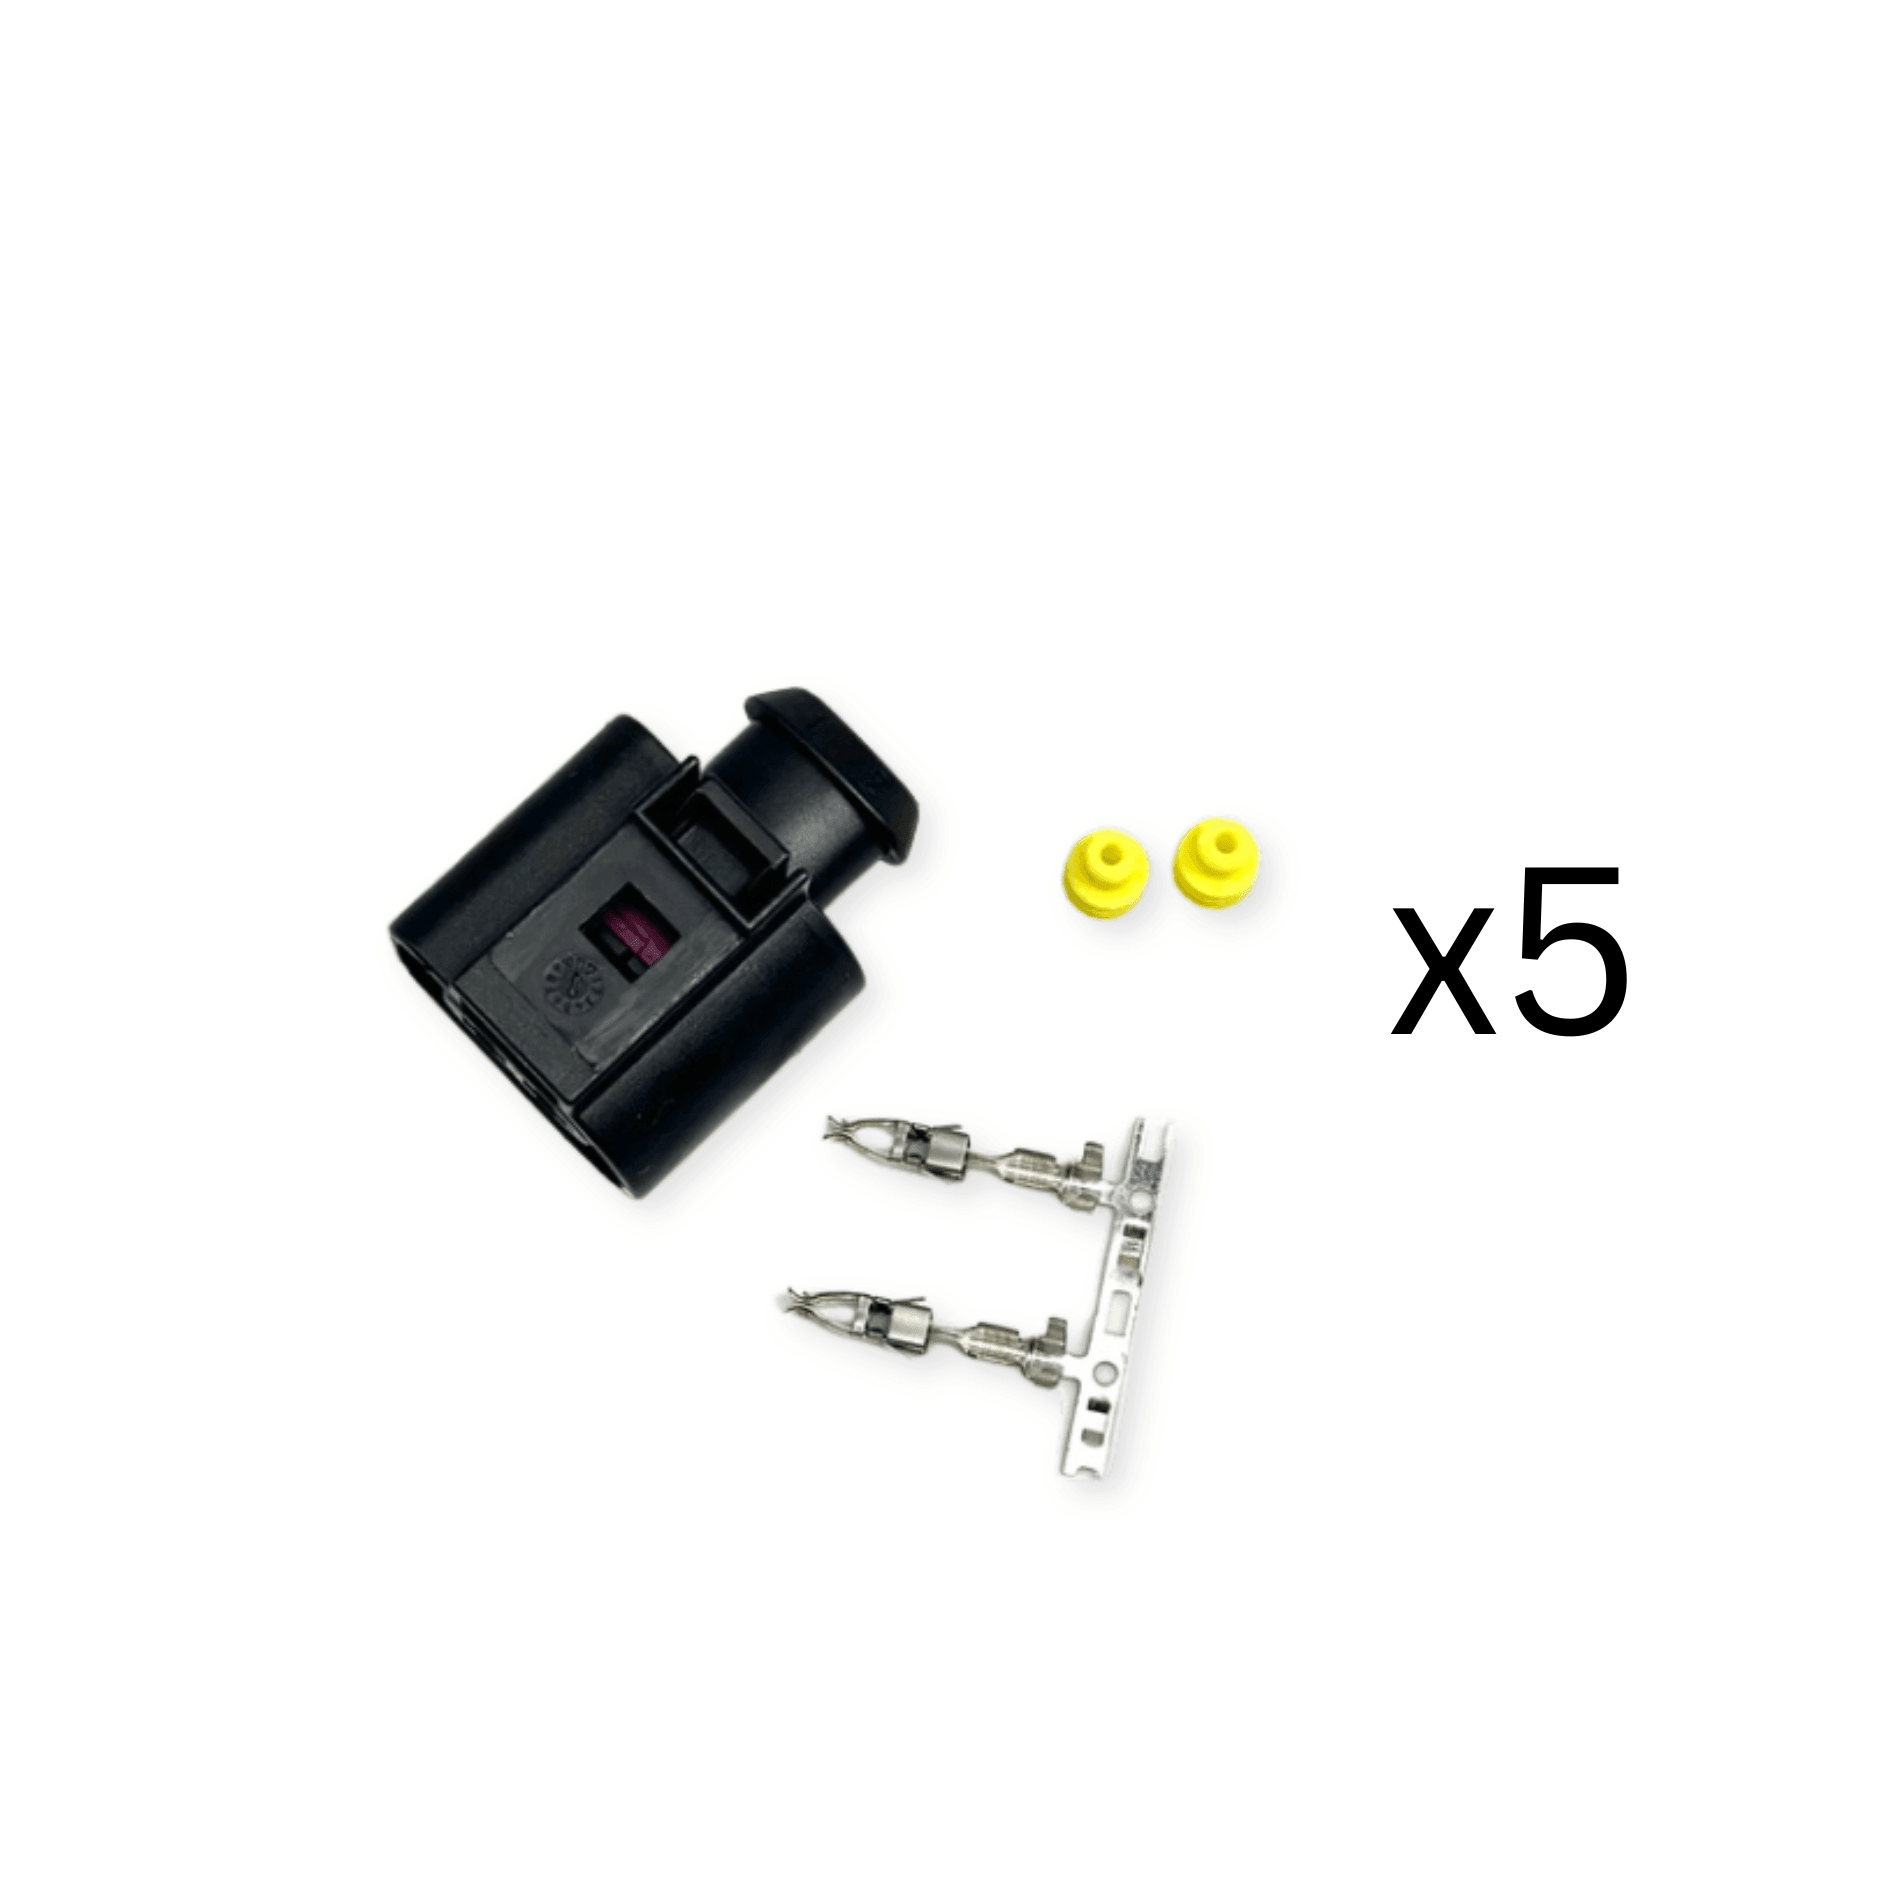
- Two or more wiring connectors clipped into sockets on the top face of the module.
- A cluster of Allen bolts (usually two) holding the controller to the pump housing, rather than conventional hex heads.
- A pump housing shape distinct from a plain diff casing, often with a raised section where the electronics sit.
- Oil residue or a slight sheen around the housing joint, a normal sign of the hydraulic side beneath it.
If an electronic control module is clamped to the differential and there’s a visible pump housing beside it, that assembly is the Haldex unit, and this remains the most reliable way to distinguish it from the mechanical differential itself.
Pro Tip: Get the car on a proper lift or axle stands with wheel chocks in place before you go looking. Slide a drip tray under the housing even if you’re only inspecting, oil weeps the moment a connector or bolt loosens.
How generation and platform change controller placement
Haldex hardware has gone through five major generations, and each one moves the controller slightly or changes how you reach it. Knowing which generation you’re dealing with before you start saves a wasted afternoon.
- Gen 2 (early 2000s Audi/VW/Seat/Škoda): controller bolted flush to the pump, accessed entirely from beneath the car with no interior work needed.
- Gen 3 (mid 2000s to 2008): similar external layout, though bolt spacing and connector shape change, so parts aren’t interchangeable with Gen 2.
- Gen 4 (2008 onward, early MQB and PQ): controller access sometimes needs a wiring loom routed through the chassis, and some installations feed harnesses back to a connector inside the cabin.
- Gen 5 (current MQB/MLB platforms): controller remains on the diff, but Gen4/Gen5 MQB installations commonly route a harness that’s accessed from the left rear seat or panel, particularly on aftermarket replacement units.
Volvo’s T5 based systems and some MQB variants use an interior connector behind the left D-pillar for the Haldex loom, which simplifies aftermarket wiring without disturbing the factory harness under the car. Before ordering anything, cross-check the part number stamped on the old controller against an ETKA style generation table; it’s the only way to be certain you’re buying the correct generation rather than guessing from the mounting position alone.
What tools and connectors you’ll need for the job
You don’t need a workshop full of specialist kit, but a few items make the difference between a tidy job and a stripped bolt.
- A lift or a solid pair of jack stands, plus wheel chocks, non-negotiable for working safely underneath a loaded rear axle.
- An Allen/hex key or bit set, commonly 5mm and 6mm sizes cover most Haldex controller bolts.
- A torque wrench for refitting, since these bolts are small enough to snap if you lean on a ratchet.
- Dielectric grease for the connectors and a small torch or inspection mirror to see round the back of the housing.
- A drip tray and some rags, oil contamination around the connector pins is the most common rookie mistake.
The controller’s electrical connectors sit on top of the module and are often tight to reach, so unclip those before you touch a single bolt. Two Allen bolts typically hold the unit in place; loosen them evenly rather than fully removing one side first, which reduces the chance of the housing binding.
Pro Tip: Lay each bolt and washer out on a magnetic tray in the order you remove them. Haldex probes and shims are small enough to vanish into gravel the moment they hit the ground.
Removing and refitting the Haldex controller step by step
Start with diagnostics, not spanners. Plug in a scan tool and pull the fault codes; a controller that throws an internal electronics fault behaves very differently from one flagged by low pressure or pump current issues. Forum experience and DIY reports consistently point to the same lesson: run an electronic diagnostic before replacing the controller, because plenty of good units get swapped out when the real fault was a clogged filter or a tired pump motor.
Once you’ve confirmed the controller itself is at fault, disconnect the battery before going any further:
- Lift the car and secure it on stands, then locate the differential and identify the controller housing.
- Unplug the wiring connectors from the top of the module, noting their orientation.
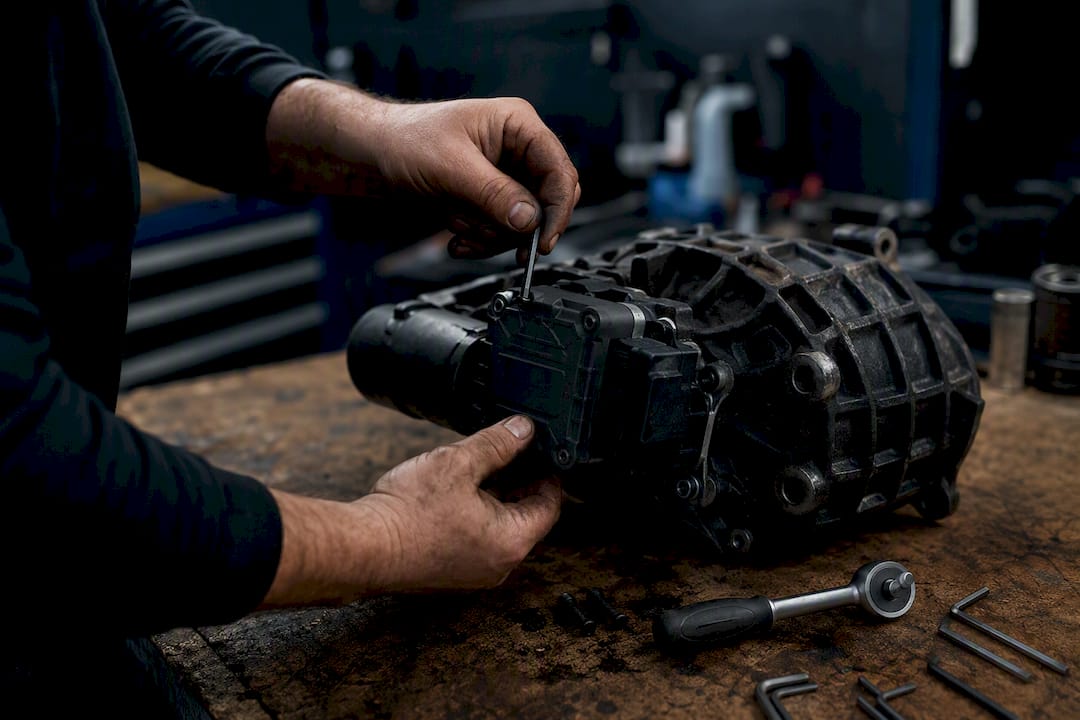
- Remove the two Allen bolts, supporting the controller so it doesn’t drop into the drip tray.
- Note the position of the washer and small contact plate beneath the unit; getting this the wrong way round on refit is the single most common error.
- Fit the new or reconditioned controller, torque the bolts to spec, and reconnect the wiring.
A few things worth knowing before you commit:
- Oil loss is usually minimal if the probes stay seated in the differential during the swap.
- Budget an hour or two for a straightforward Gen 2/3 job; MQB installations with interior harness routing can run closer to half a day.
- Parts costs vary widely by generation and whether you’re buying new or reconditioned, so confirm pricing against your specific part number before booking time off.
- If the housing shows corrosion around the bolts or the connector pins look damaged, hand it to a specialist rather than forcing a stuck fastener.
Common Haldex controller symptoms and how to avoid a wasted replacement
Judder on tight turns, a dashboard AWD warning light, or a car that feels front-wheel-drive only under load, all point toward the Haldex system, but not necessarily the controller. A quick scan prevents plenty of unnecessary swaps; DIYers have replaced perfectly good controllers when the pump or filter was the actual root cause.
- Test pump current draw and check filter condition before assuming the controller has failed.
- A controller that passes electrical continuity checks but still throws pressure faults usually points to the pump.
- Consider testing the pump directly rather than guessing from symptoms alone.
- Damaged or corroded controllers can sometimes be reconditioned rather than replaced outright.
Pro Tip: Always match the exact part number on the old unit against your generation table before ordering, a controller that looks identical can carry different firmware for a different platform.
How Haldexparts stocks the right parts for this job
Haldexparts specialises in OEM-grade Haldex hardware, sorted by generation rather than guesswork, which matters once you’ve identified the controller and need the matching pump or oil kit. Stock includes generation-correct hardware across brands, among them:
- BorgWarner Coupling Filter Kit 20986573 for SAAB, Opel, Vauxhall, Buick and Cadillac AWD systems.
- Haldex Oil Pump 5th Gen 9P1906271 for Porsche and 0D4906271A for Audi R8.
- 02D525557 precharge oil pump, 1st generation, for Audi, VW, Škoda and Seat.
- 31325173 oil filter and 31367940 coupling oil for Volvo AWD kits.
- 107883 steel friction plate sets across 10 and 15 disc configurations for 4th and 5th generation systems.
Always confirm your generation and part number against the service kits range before ordering.
Why the diagnostic step gets skipped, and shouldn’t
Most guides to this job jump straight to bolt counts and torque figures, and that’s exactly where they go wrong. The controller gets blamed because it’s the visible, boltable component, while the pump or filter, hidden inside the housing, gets overlooked entirely. That’s backwards. A scan tool costs less than a single reconditioned controller, yet plenty of DIYers skip it because pulling codes feels like an extra step between them and the job they came to do.
The second thing conventional advice underplays is generation matching. It’s treated as an afterthought, a detail to sort out “once you’ve got the old part off.” In practice, it should come first. Pull the part number before you order anything, because a controller that bolts on cleanly can still run the wrong firmware for your platform, and you won’t find that out until the AWD light comes straight back on.
Prioritise diagnosis, then generation confirmation, then the spanner work. Everything else in this job is mechanically straightforward once those two boxes are ticked.
— Mindaugas
Order the correct kit once you’ve confirmed the fault
Once diagnostics confirm the controller, pump or filter needs replacing, the fastest route to getting the car back on the road is ordering a generation-matched kit rather than sourcing pump, filter and oil separately and hoping they fit.
Haldexparts stocks kits built around each generation rather than a one-size-fits-all part number, which matters given how many bolt patterns and firmware versions have shipped across two decades of Haldex hardware. If your fault points to the pump rather than the controller, the AWD Pump Nose Replacement kit for 1st and 2nd generation Haldex pumps covers the earliest platforms, while the BorgWarner 2nd generation pump, filter and oil kit bundles everything needed for a full service on Audi, VW, Seat and Škoda applications in one order. Buying the matched set avoids the fitment returns that come from mixing part numbers across generations. Check your controller’s stamped part number, then browse the full service kit range to order the correct set for your car.
Sources
- Guide to Servicing VW and Audi Haldex AWD Systems
- Haldex Controller Gen5 Installation - vd Veer Engineering
- Which generation of Haldex controller is in my car? - Haldex Service



