

The Haldex fuse usually sits in one of three spots: the interior dash fusebox on the driver’s side, the boot or cargo-area fusebox, or occasionally an engine-bay fuse holder. Start by checking for a fuse labelled HALDEX, FB1, or one of the commonly reported positions: 10, 17, 23, or 47. Before you pull any covers, grab these:
- A torch (the labeling is often tiny)
- A multimeter or a spare fuse of the exact same amp rating
- Your owner’s manual or the fusebox sticker
Key Takeaways
Finding the Haldex fuse is mostly a process of elimination between three fusebox zones, confirmed against the sticker diagram rather than guesswork.
| Point | Details |
|---|---|
| Check three zones first | Interior dash, boot/cargo-area, and occasionally engine-bay fuse holders cover most vehicles. |
| Confirm with the sticker | Owner reports on forums vary by submodel and year, so always cross-check the fusebox diagram. |
| Test methodically | Visual check, continuity test, and a like-for-like fuse swap confirm a blown fuse safely. |
| Rule out connectors and pump draw | If the fuse is fine, check rear connectors, wiring near the left rear wheel, and pump current. |
| Order the right part | Haldexparts supplies OEM-grade pumps, oils, filters, and kits matched to your Haldex generation. |
Table of Contents
- Where to look first for the Haldex fuse location
- How do you find the Haldex fuse on the fuse map?
- Model-specific Haldex fuse positions worth trying
- How do you check if the Haldex fuse is blown?
- What if the fuse checks out fine?
- Where to get Haldex parts once you’ve diagnosed the fault
- Sources
Where to look first for the Haldex fuse location
Manufacturers don’t agree on a single spot, so your search area depends on the car in front of you. Three zones cover most vehicles fitted with a Haldex all-wheel-drive system:
- Interior dash fusebox — usually under the driver-side panel or tucked behind the glovebox
- Boot or cargo-area fusebox — common on estate and SUV bodystyles, often on the driver’s side trim panel
- Engine-bay fuse holder — less common, but present on some models where the wiring loom routes the AWD supply externally
Position varies with Haldex generation, how the AWD system was integrated into the wiring harness, and whether the car is left-hand or right-hand drive. Some vehicles run two related fuses rather than one: a low-amp fuse for the control electronics and a separate, higher-rated fuse for the pump or heater circuit. Reported ratings vary too. You’ll find 10A control fuses alongside 7.5A and 30A fuses depending on what they’re feeding, so don’t assume every Haldex-related fuse looks the same.
How do you find the Haldex fuse on the fuse map?
Always check the fusebox sticker or the owner’s manual diagram before touching anything. The label you’re hunting for might say HALDEX outright, or it might just say FB1, AWD, or name the component directly, such as “AWD pump” or “coupling.”
- Identify which fusebox applies to your model (dash, boot, or engine bay).
- Open the cover and find the printed diagram, either on the inside of the cover or in the manual.
- Match the fuse position on the diagram to its physical slot, working carefully since layouts don’t always run left to right.
- Confirm the fuse’s colour and amp rating against what the diagram specifies.
Pro Tip: The moulded numbers on the fuse carrier or the little divider tabs are often smaller than the print on the diagram itself. A torch and, if the angle is awkward, a small mirror will save you squinting under the dash for twenty minutes.
Model-specific Haldex fuse positions worth trying
Owner reports give you a head start, but they’re not gospel. Treat these as a shortlist to try, not a guarantee:
- VW, Audi, Škoda, Seat (VAG group): Forum reports frequently point to fuse position 10 at 10A, though some owners report position 47 instead, depending on model year and trim.
- Volvo (including XC90): Several owners locate the Haldex fuse in the cargo-area fuse block on the driver’s side, with fuse 23 present reported on certain models.
- Early Audi TT: Some early examples reportedly lack a dedicated Haldex fuse altogether, so don’t assume one exists before checking the diagram.
Cross-check whichever position you find against your own fusebox sticker. Submodel and year differences mean forum numbers can be close but not identical to what’s under your dash.
How do you check if the Haldex fuse is blown?
The simplest checks are a visual inspection, a multimeter continuity test, and, where it’s safe, a temporary swap with an identical spare fuse.
- Turn off the ignition and remove the suspect fuse.
- Look at the element through the clear plastic body for an obvious break or scorch mark.
- Set your multimeter to continuity mode and test across the two legs of the fuse.
- With the fuse back in place and ignition on, check for voltage on the feed side to confirm the circuit is live.
- If everything reads correctly but you’re still unsure, swap in a spare fuse of the exact same amp rating and observe to follow simple car care tips for safe and effective maintenance.
Never fit a higher-rated fuse “just to see.” A 10A control fuse and a 30A pump fuse protect different circuits for different reasons, and a wrong swap can mask a fault or damage a controller.
Isolate the ignition properly, avoid bridging any live terminals with tools, and never test exposed connectors while someone else is driving the car. A multimeter and a bit of patience will tell you more than guesswork ever will.
What if the fuse checks out fine?
A good fuse doesn’t mean the AWD system is fine, it just narrows down where the fault isn’t. Blown fuses are one of the more common causes of Haldex warning lights, but once you’ve ruled that out, work through these next:
- Check the rear connector under the seats or via the boot access panel. Damaged or corroded pins here are a frequent culprit.
- Inspect wiring near the left rear wheel for chafing, especially on cars that have had suspension or exhaust work done.
- Plug in an OBD reader and look for AWD or Haldex-specific fault codes.
- Measure pump current draw at the fuse feed using an amp clamp alongside VCDS monitoring if you have access to it.
A pump that draws no current despite a correct supply, or one that shows a mechanical fault on diagnosis, usually means the motor itself has failed rather than the electrics feeding it. At that point, you’re looking at a pump replacement or repair kit rather than further fuse chasing.
Safety and quick tips before you start
- Never fit a higher-amp fuse than specified, even temporarily.
- Skip live-test improvisation. Use a meter, not a screwdriver blade.
- Photograph the fusebox layout before removing the cover, in case anything shifts during reassembly.
Pro Tip: Keep a small labelled tray for fuses and screws as you work. It sounds fussy until you’re trying to remember which slot the 7.5A fuse came from twenty minutes later.
A technician’s quick take on where to start
Check the boot or cargo-area fusebox first on Volvos, and the interior dash fusebox first on most VAG cars. That order alone saves a lot of wasted time. If the fuse is good and you’re seeing pump current issues or a genuinely tangled wiring fault, that’s the point to call a workshop rather than keep chasing it solo.
Where to get Haldex parts once you’ve diagnosed the fault
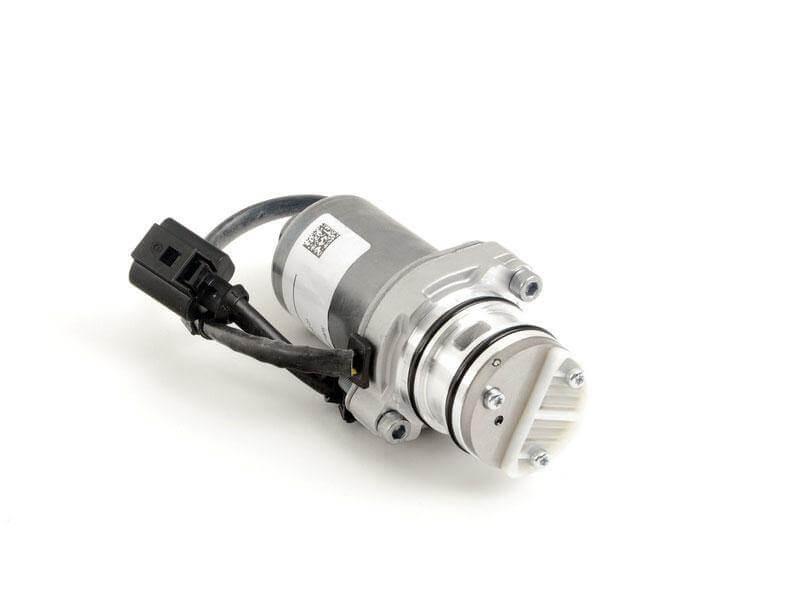
If your fuse checks out and the diagnostics point to a worn pump, tired seals, or overdue fluid, Haldexparts stocks OEM-grade kits organised by vehicle and Haldex generation, so you’re not guessing which part fits your setup.
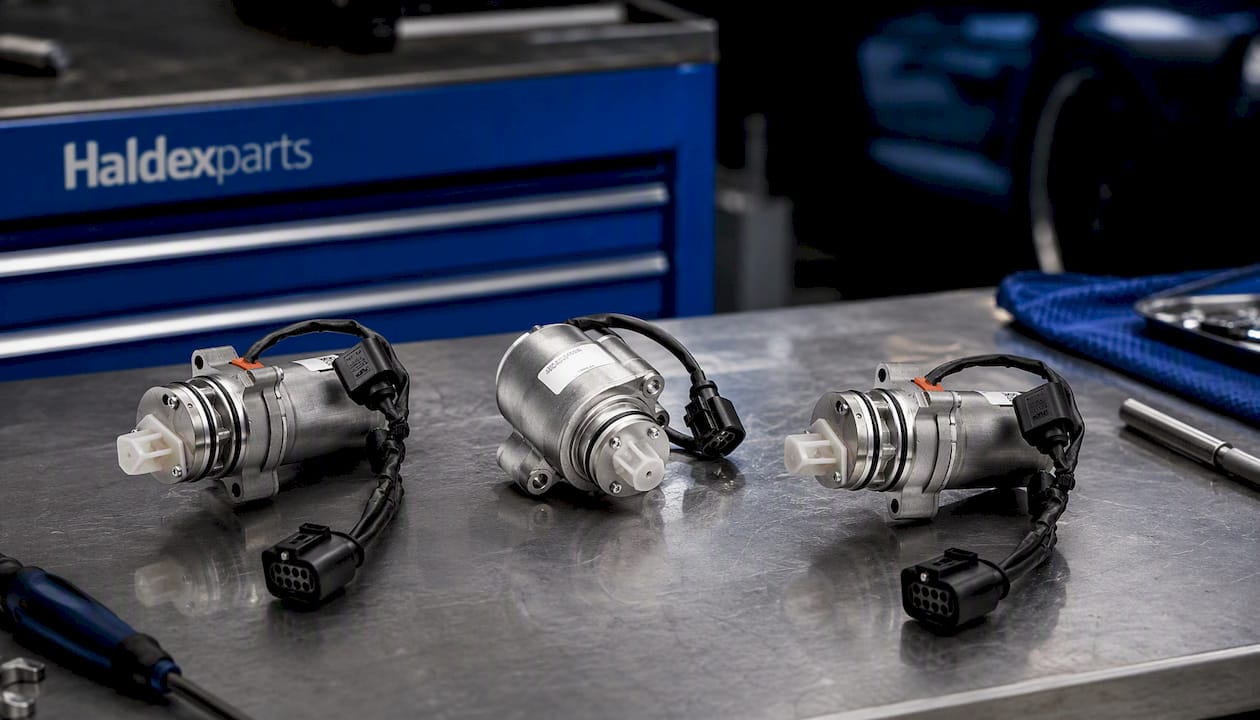
For a straightforward service after fuse and connector checks, the service kits collection covers seals, oil, and filters in one order. If diagnostics point to the motor itself, the pump collection is organised by generation, and Ford owners specifically will find dedicated options in the Ford AWD pump motor range. Running low on fluid alone rather than a full kit? The Haldex oils collection covers that on its own. Whatever you order, match the amp rating on any replacement fuse and the exact part number on any pump or kit against your vehicle’s Haldex generation before you check out, as generation-specific parts aren’t interchangeable.



